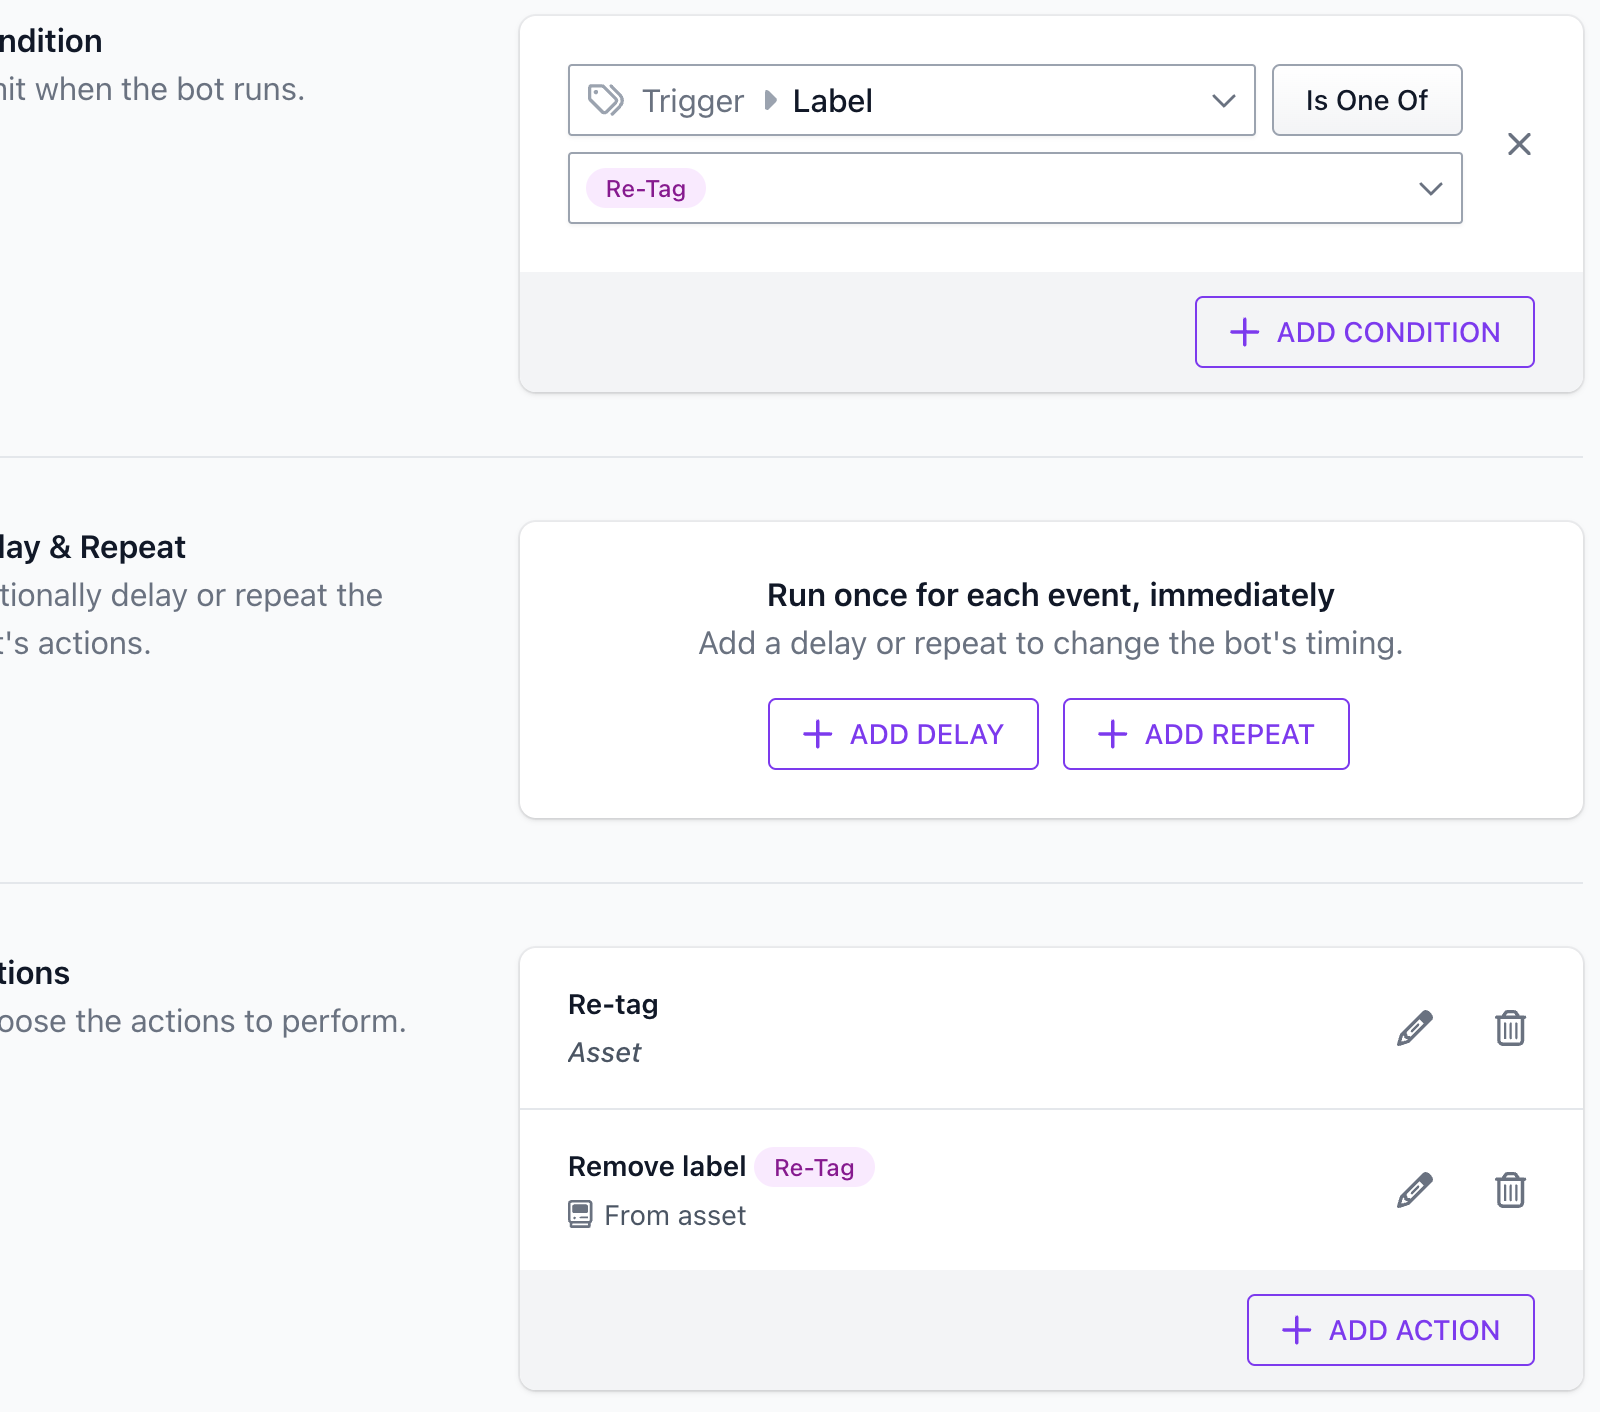
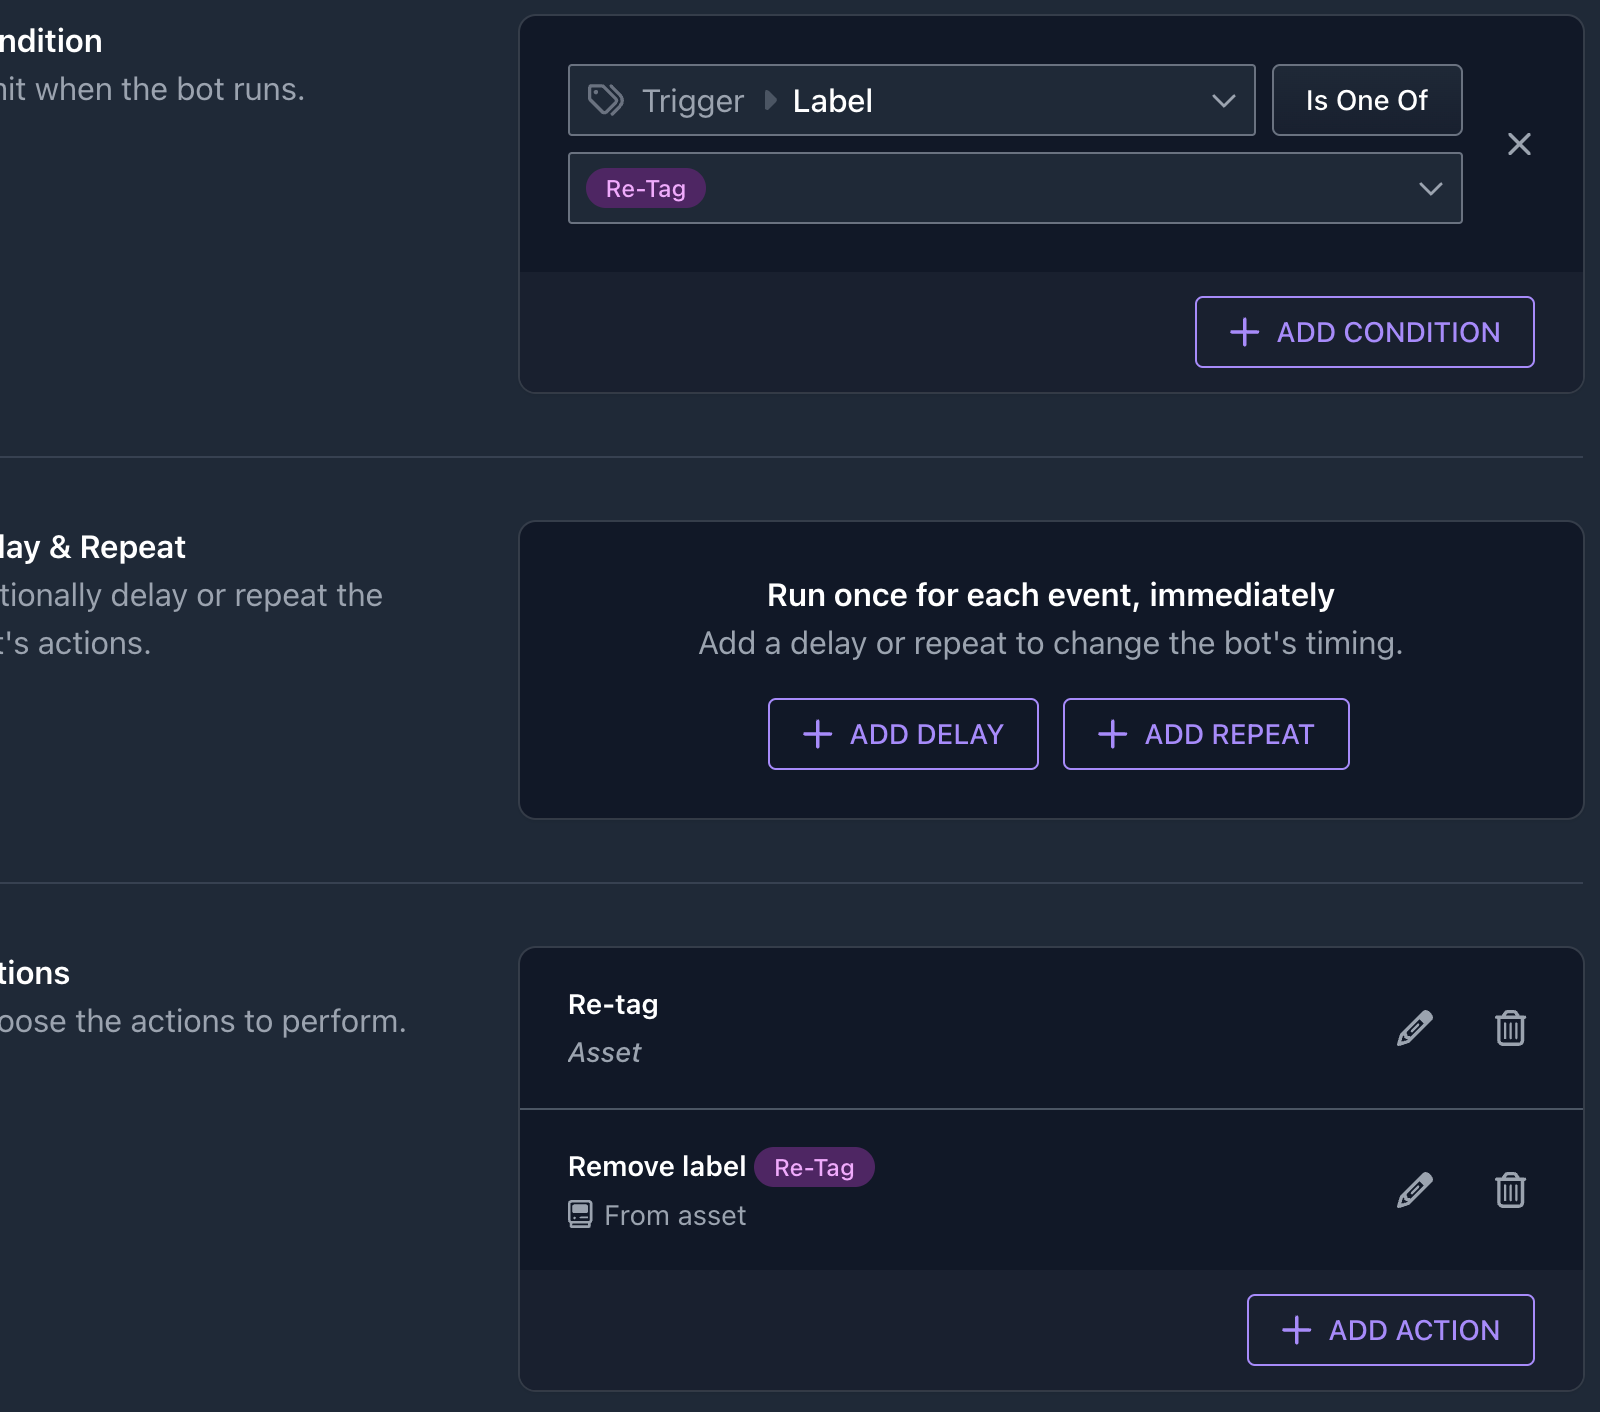
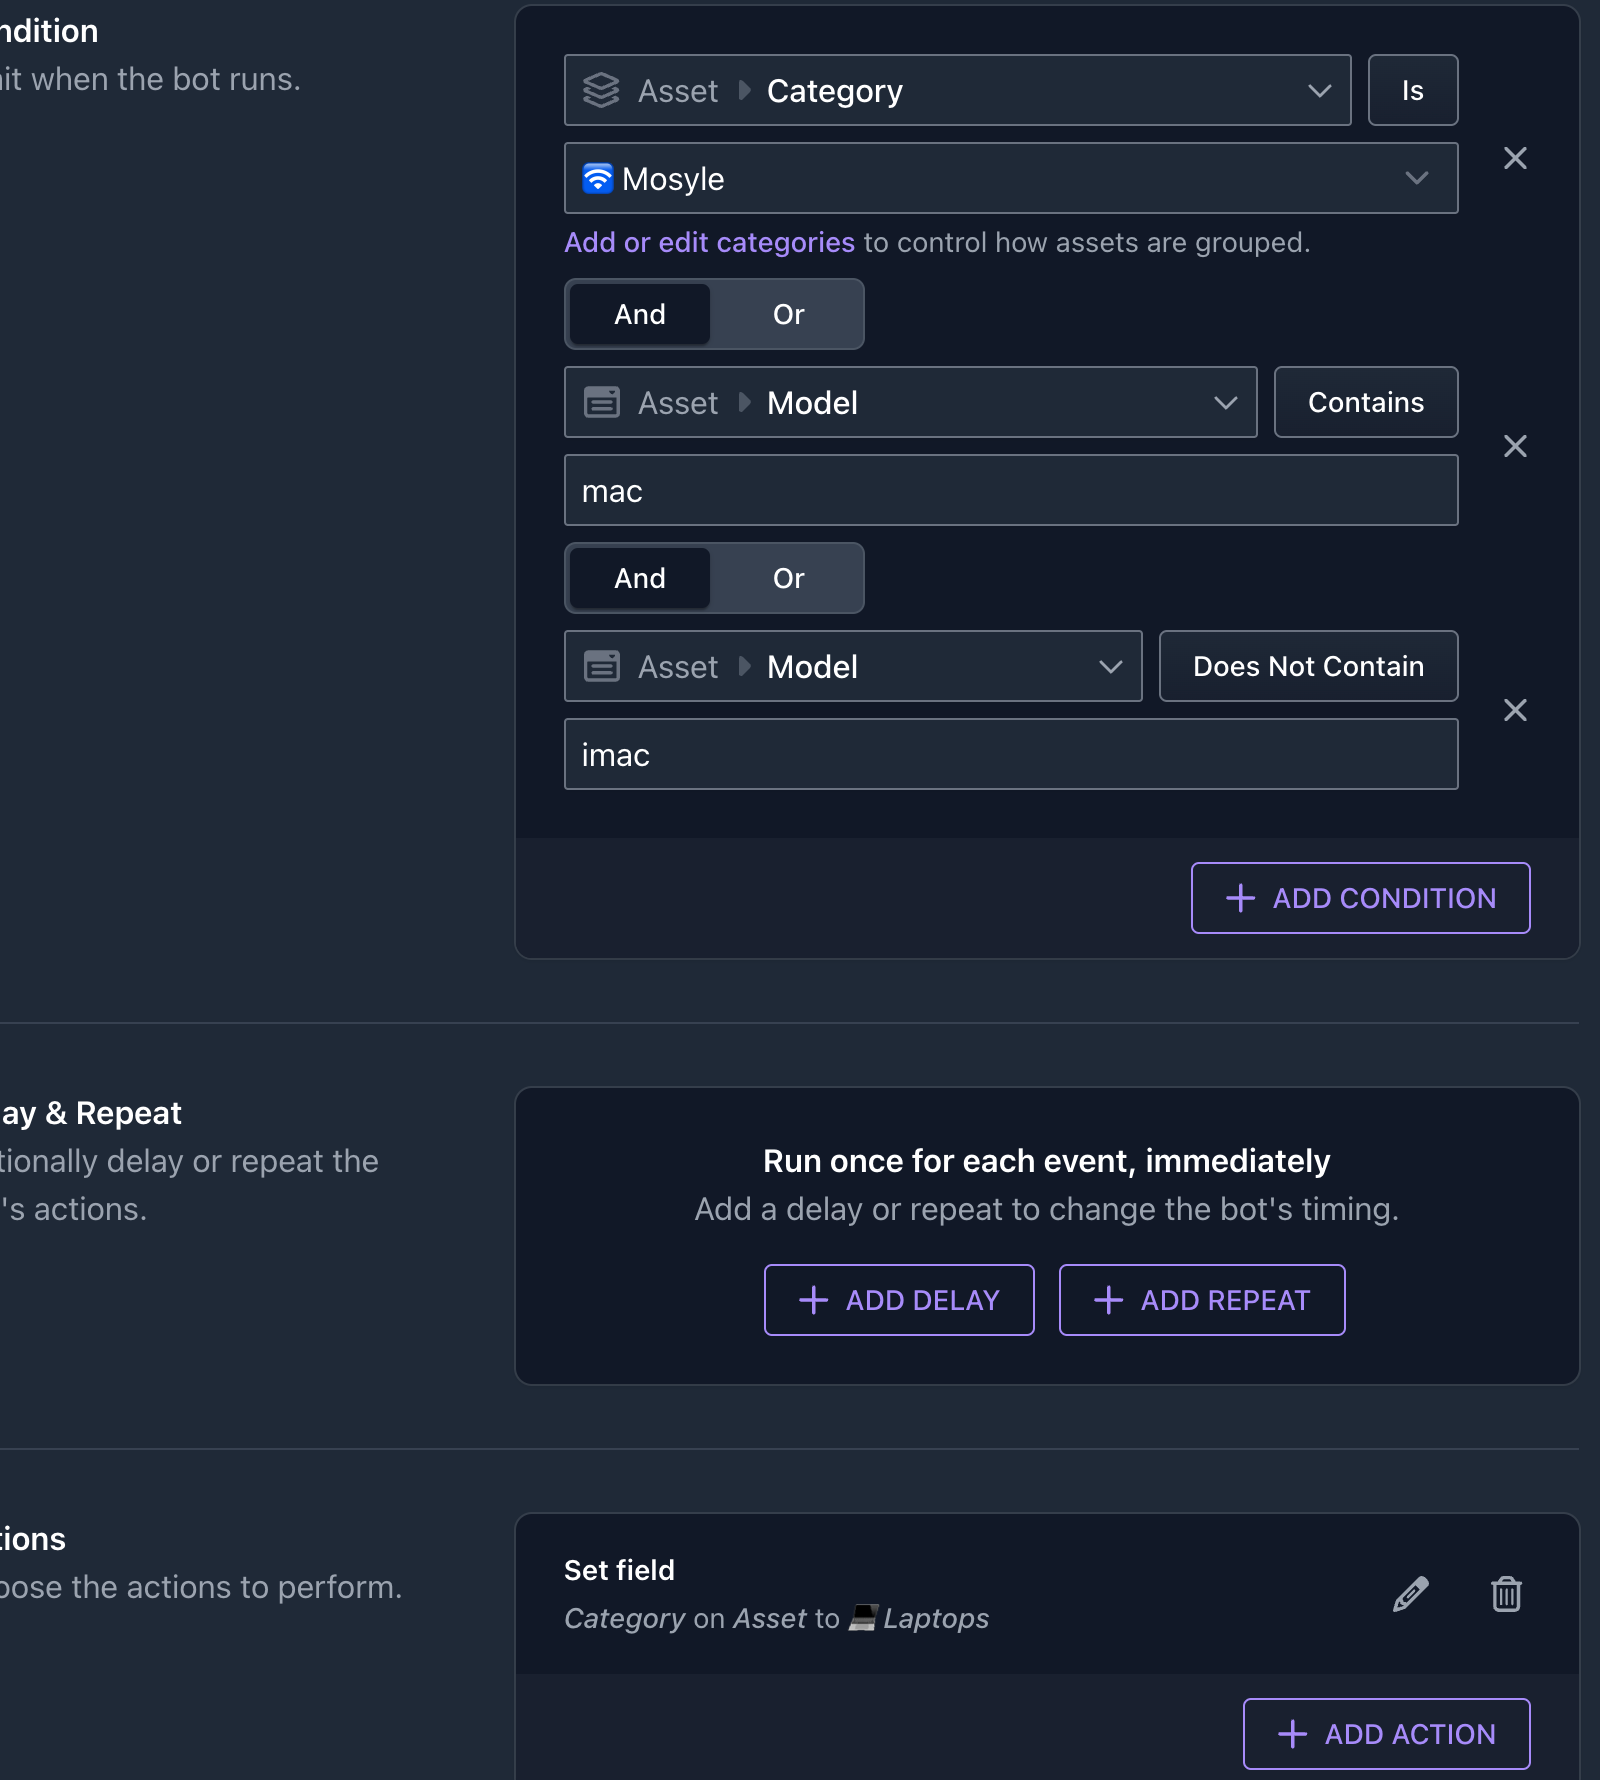
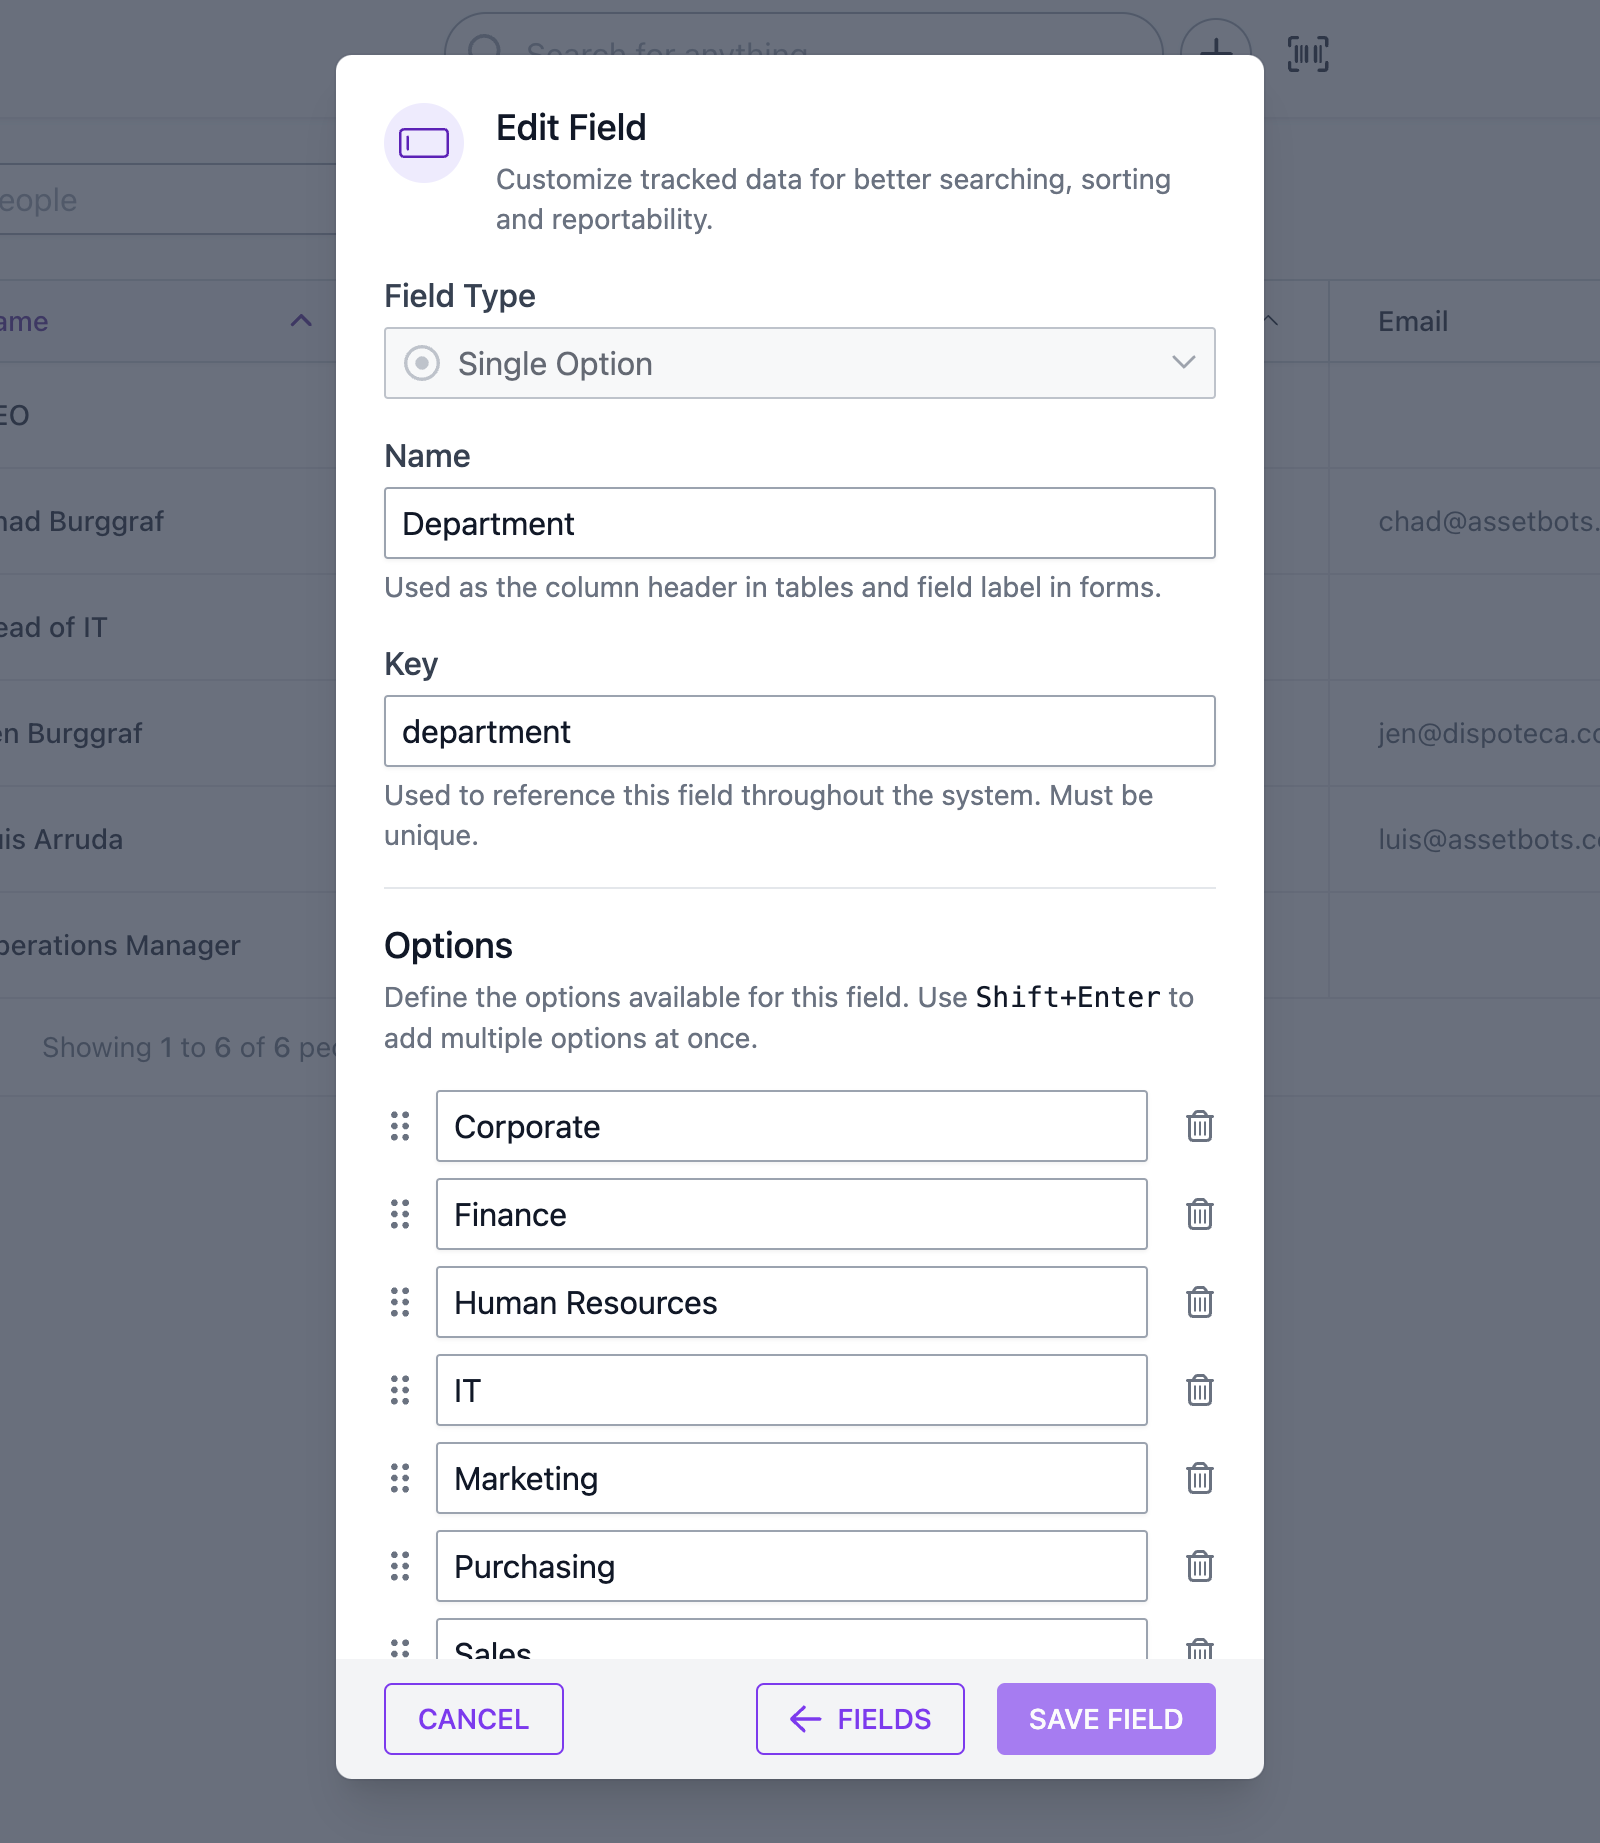
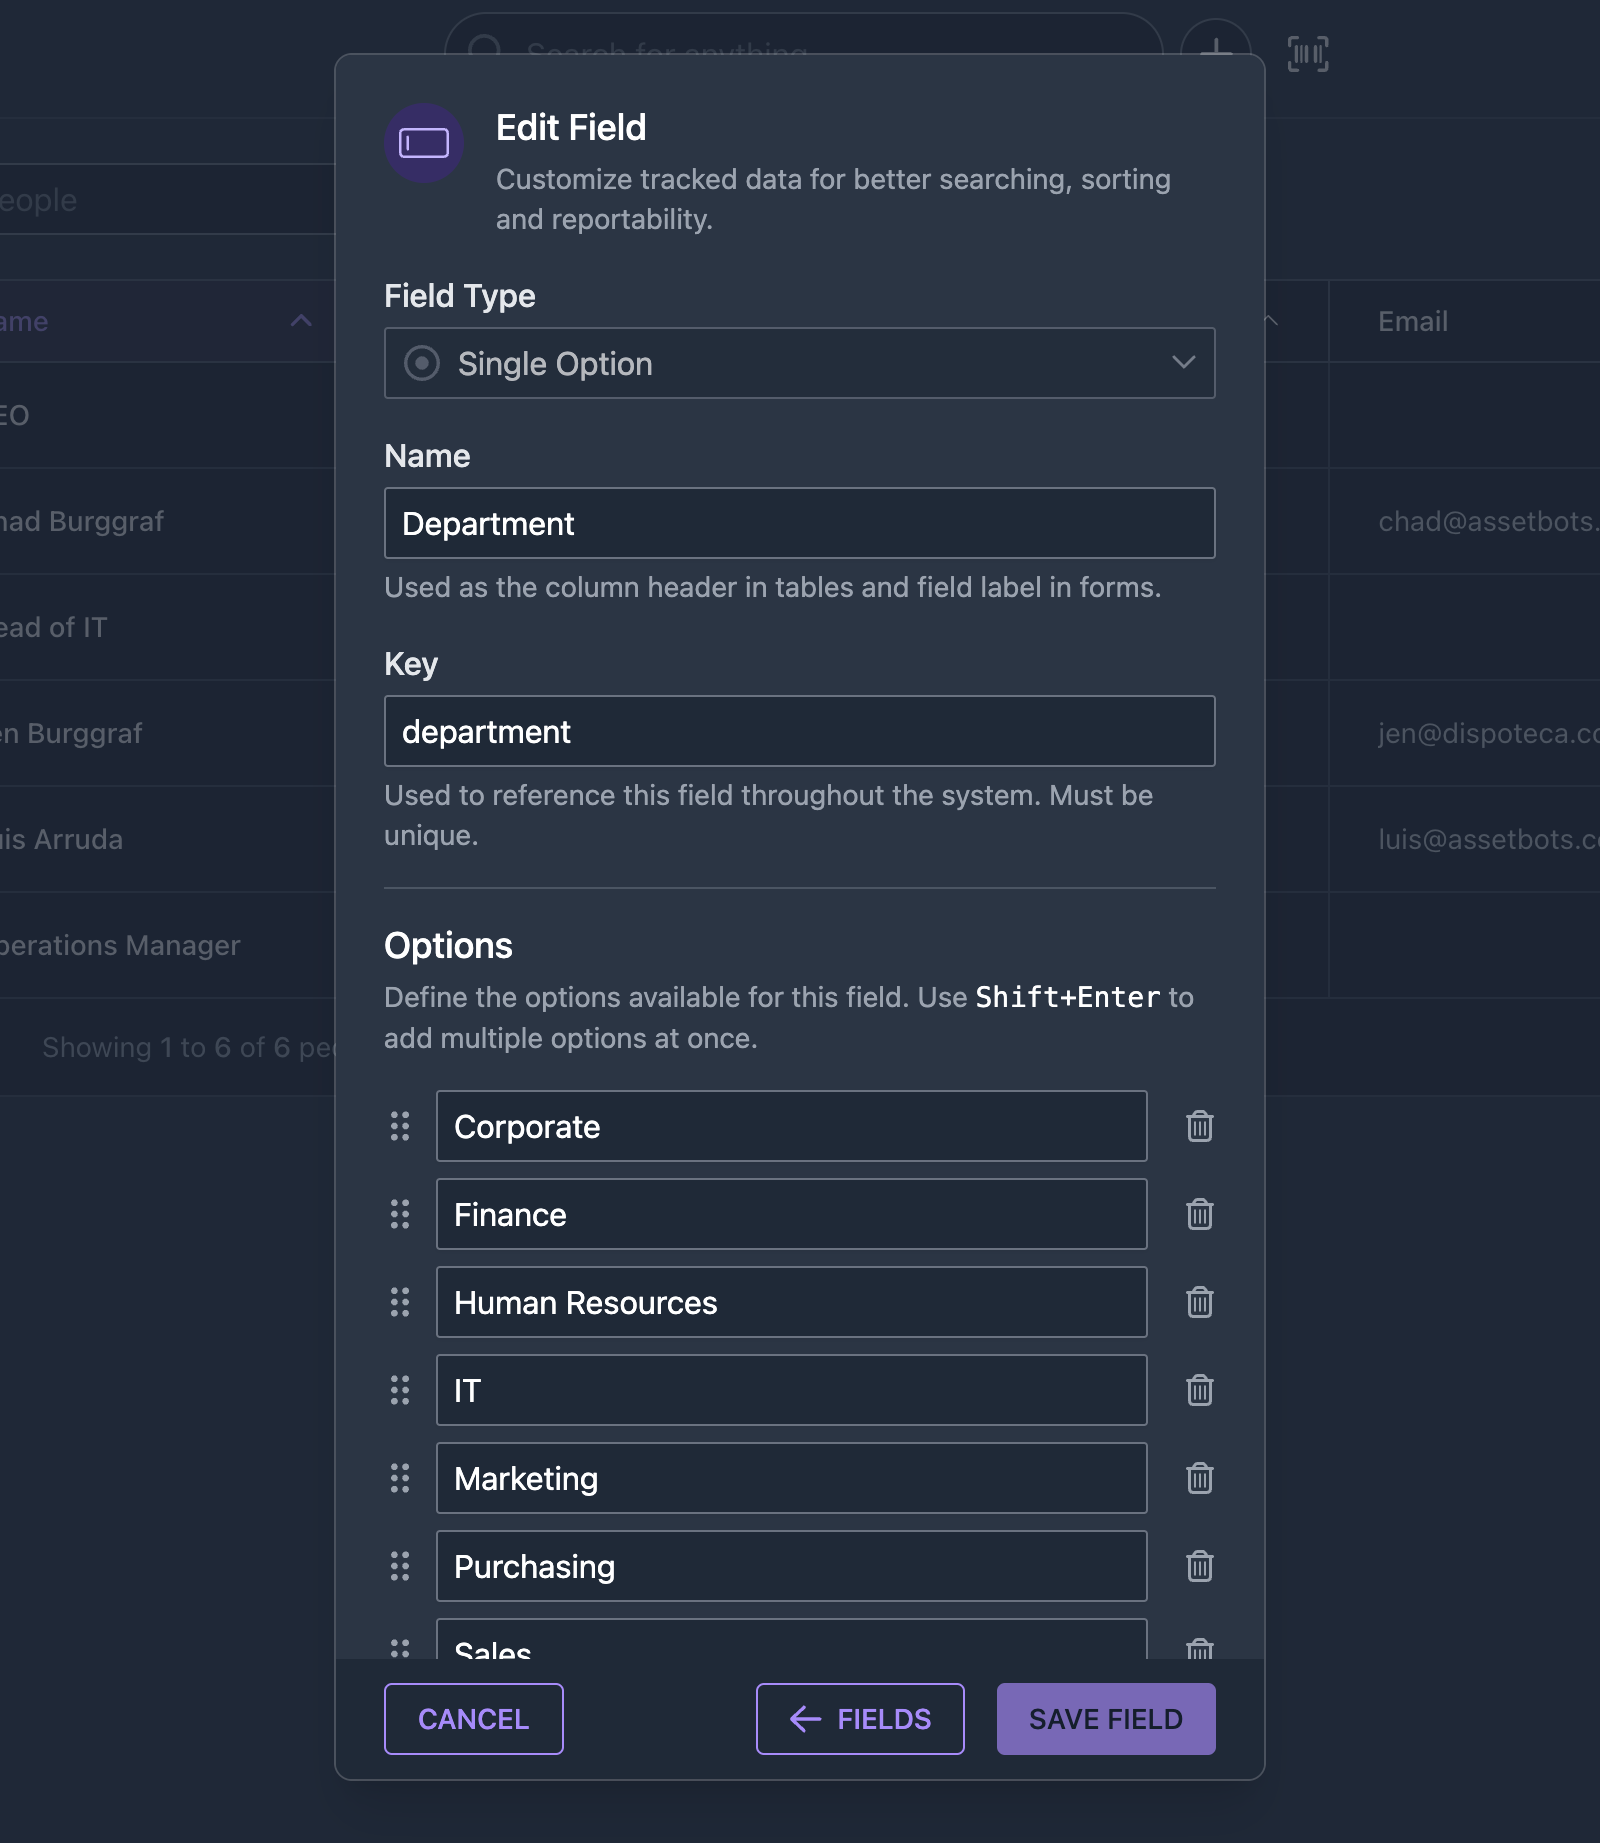
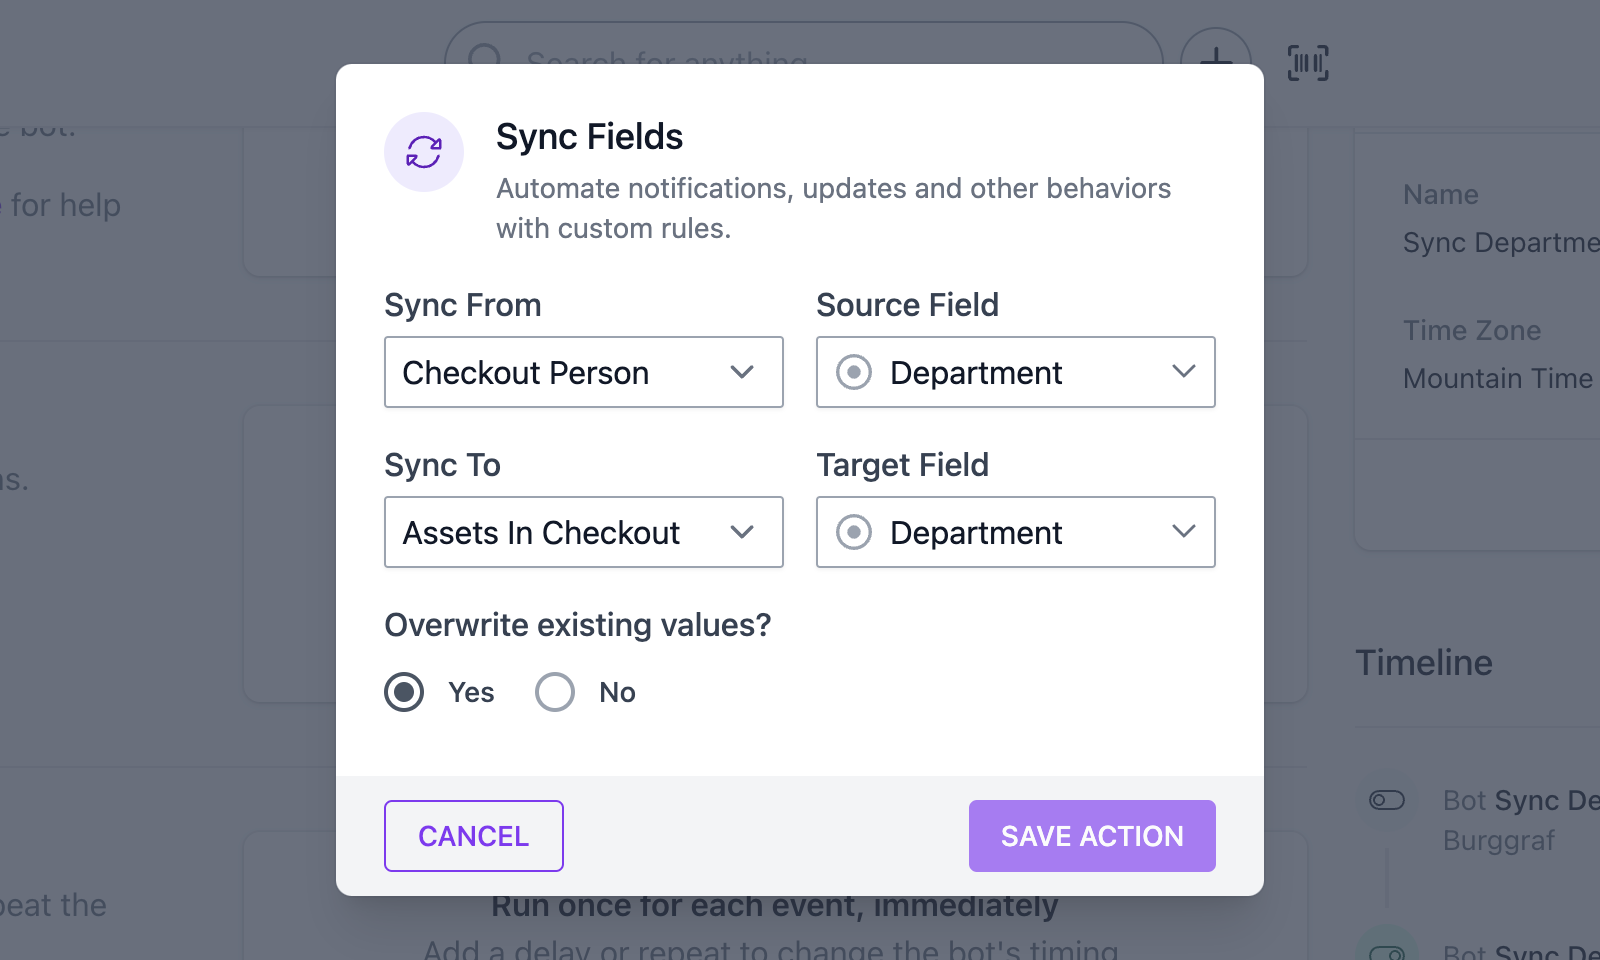
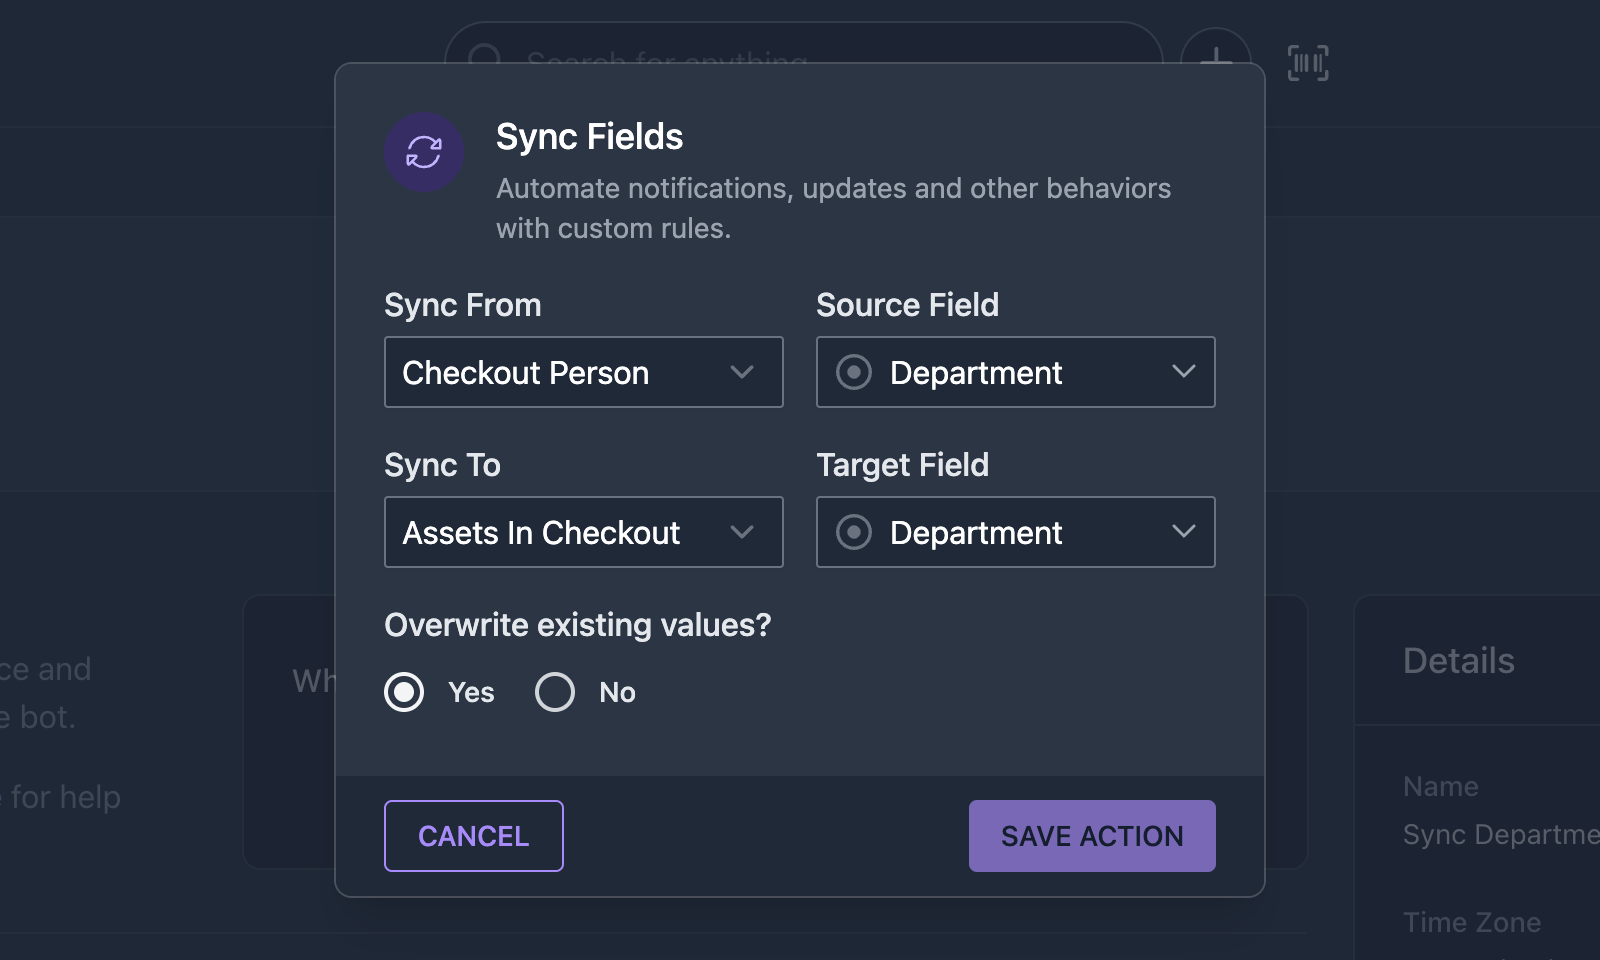
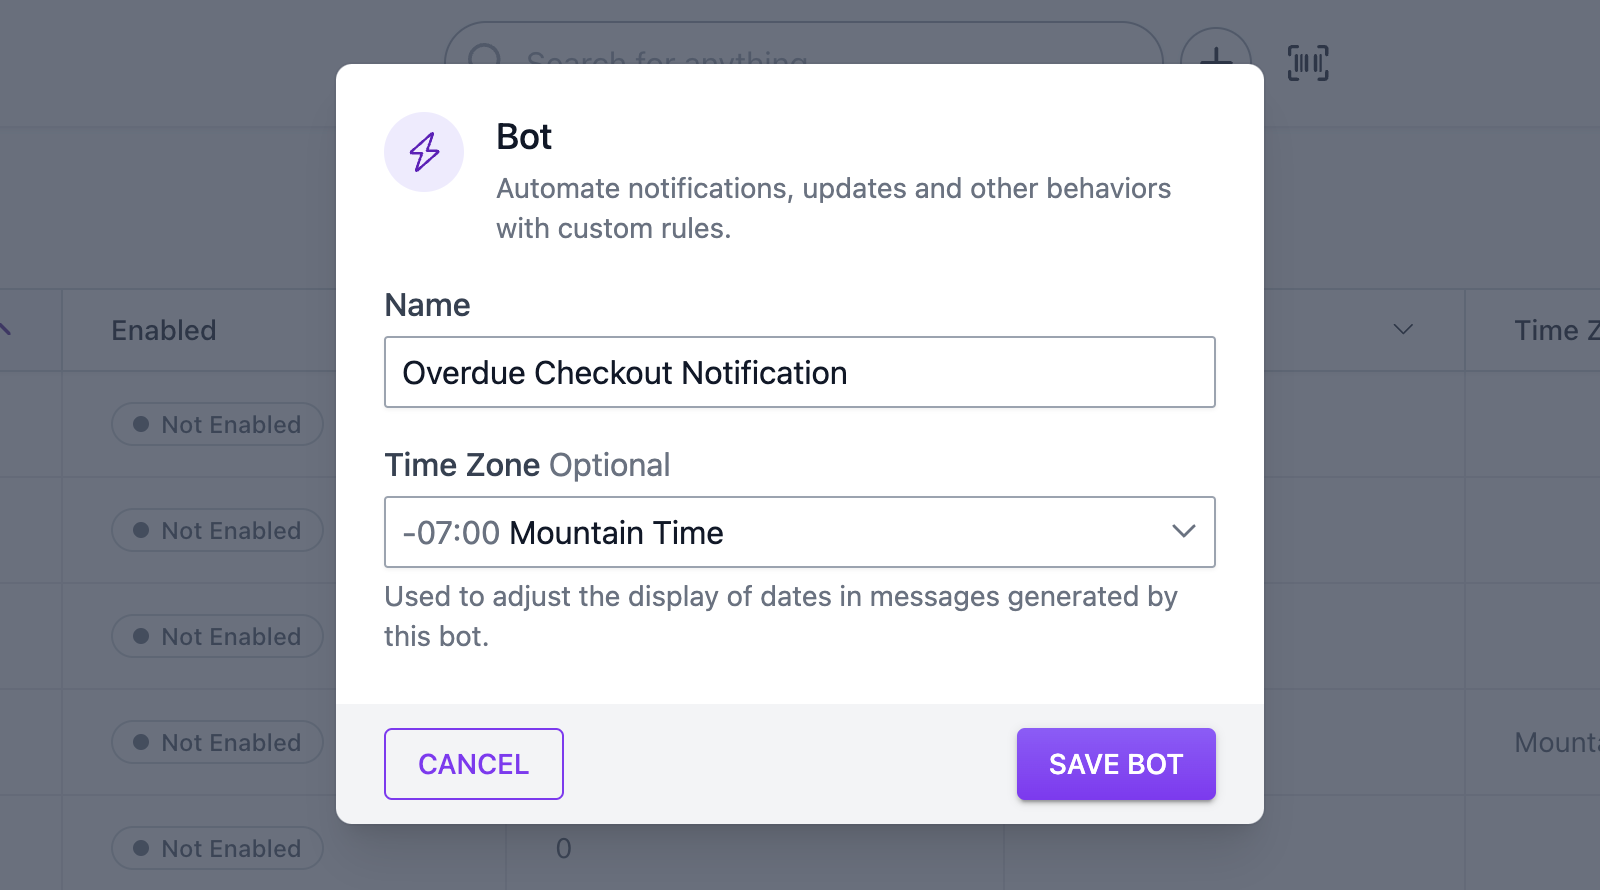
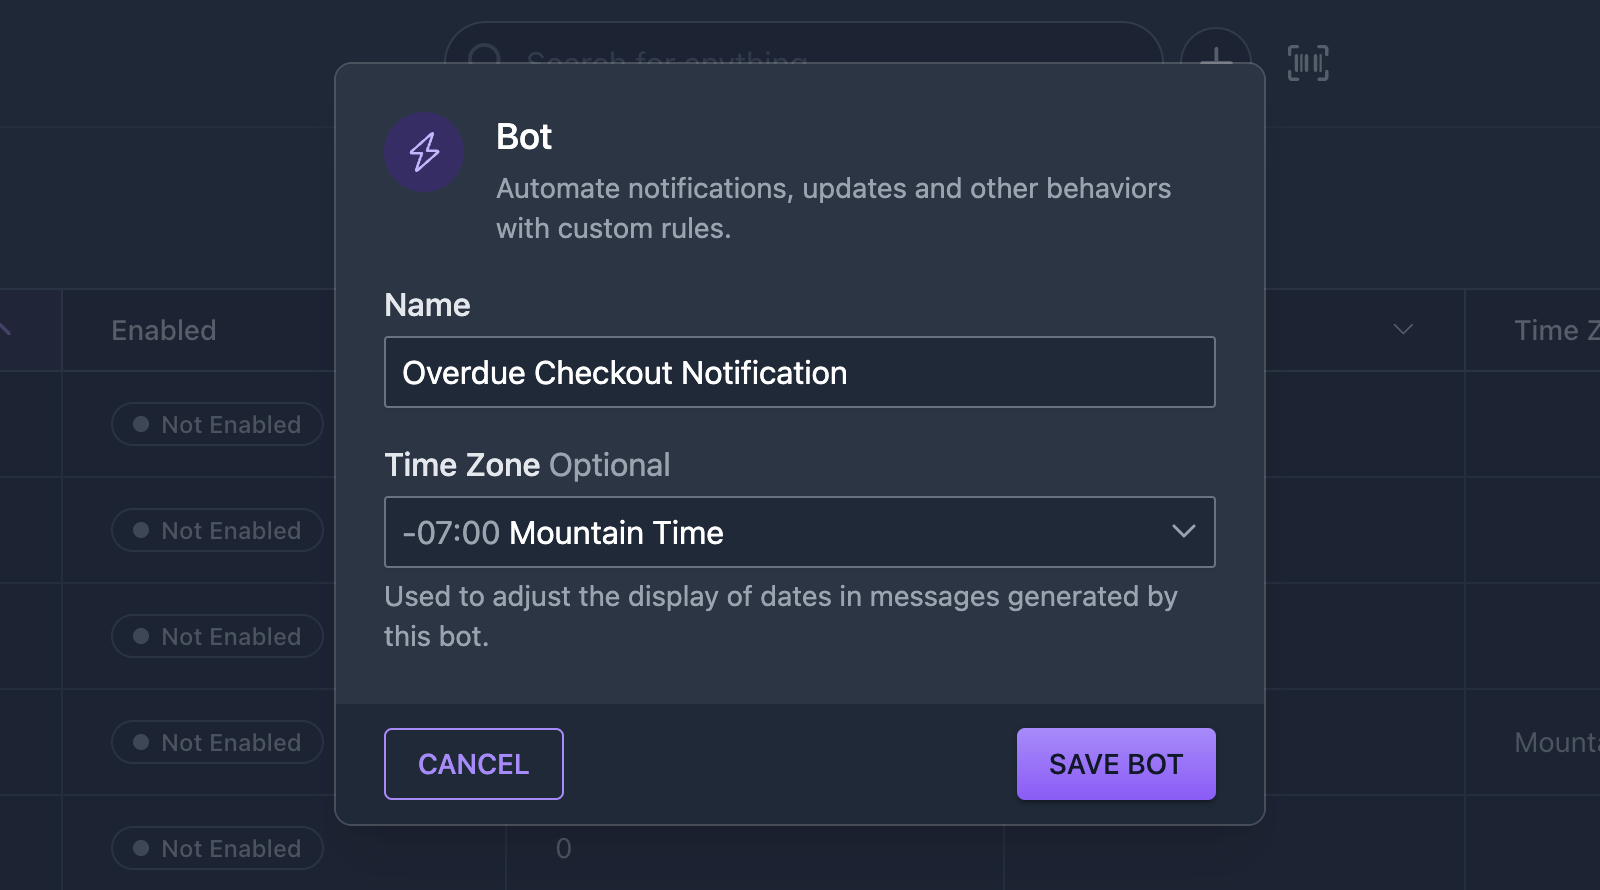
We’re happy to announce two new integrations that unlock even more power for your Bot automations!
SendGrid
Your bots can send emails using an email address you control when you enable the SendGrid integration. You can set a default From address and name, and even disable the default Assetbots footer and disclaimers.
Twilio
When you enable the Twilio integration, your bots will gain the ability to send text messages. Create best-in-class reminder sequences using a mix of texts and emails to make sure your equipment is returned when it is supposed to be.
You can now enable the built-in scanner on any Text field!
To enable, open the field editor for the appropriate record type (Asset, Person, Location, Repair or Reservation), which can be found in the More Actions dropdown to the left of the Add button.
Select a Text field to edit, or add a new one. A new properties editor is available with options for Scan Button?. Choose Yes to enable or No to disable.
Once enabled, this field will have a new Scan button available, which can be used to open the scanner. Any value scanned by the scanner will be entered into the field automatically.
We've also updated our database templates to enable scanning on serial number fields by default.
We’ve added two new calculated field types to help you keep better tabs on your assets, as well as to unlock some advanced capabilities in our new Bots automation feature.
Count
Add a Count field to dynamically calculate the number of related records. Once added, you can use this field to filter and sort list views, as well as condition bot automations.
You can create dynamic counts of:
Checked out assets (for Person and Location records)
Reserved assets (for Person and Location records)
Related assets (for Repair and Reservation records)
Attached files (for all record types)
Count Filter Example
To filter lists based on a count field, you append either .any or .sum to the field key. For example, if you create a field called Asset Count, the default field key will be assetCount. To list all records with at least one asset, enter the following filter value:
assetcount.any:true
Relative Date
Add a Relative Date field to dynamically calculate a date based on another date field. For example, if your organization requires assets to be calibrated every six months and you have a Date field called Last Calibration Date, you can add a Relative Date field called Next Calibration Date and set its duration to 6 Months.
Once defined, you can create a bot automation to email and text you every time an asset’s Next Calibration Date passes or is coming soon.
These new field types are available today to all of our users, both free and paid. Bot automations are currently in beta, but if you would like to enable them for your account please let us know!
A major update to our core data architecture was released today that makes sure even the largest databases are as fast and responsive as possible.
As Assetbots has grown, so have our customers. We have many customers with thousands of assets, people and locations in their databases, and some were starting to see a slight slowdown when performing certain operations.
Our update today should bring instant search, sort and filter back to even the largest database.
Customers with more than 10 databases in their account can now filter the database menu to quickly switch between databases.
The menu supports keyboard navigation, so once filtered you can use the ↑ and ↓ keys to select a database, then press Enter to switch to that database.
You can now move or copy assets between databases!
This is especially useful for MSPs and very large enterprises with multiple databases. For example, you may have an Inventory database where new inventory is created before it has been assigned to a client or department. Once the asset has been prepared, you can transfer it to the appropriate database and begin tracking it as normal.
Our transfer operation allows you to include the following related data when moving or copying an asset:
Fields
Any fields that are missing in the destination database can be automatically created.
Files
Move or copy files attached to the asset.
Labels
Any labels applied to the asset that are missing in the destination database can be automatically created.
Notes
Move or copy notes attached to the asset.
To get started, expand the More actions menu in the top-right of an asset’s detail view:
Assets can only be transferred if they are not checked out, reserved, or in repair. You must also have write access to at least one additional database.
Transfers can also be done in bulk from the asset list:
Finally, if an asset is transferred back to a database that it was previously moved out of, it will be restored, and its timeline will pick up where it previously left off.
We have some exciting additional MSP tools on the way, so stay tuned. And happy tracking!
We’re excited to announce the release of our Intune integration. Automatically sync Intune devices and users into your Assetbots database as assets and people.
Take a look at our setup guide and connect your Intune tenant to Assetbots today!
We have made a few updates to our built-in scanner that should drastically improve performance and usability in certain situations.
Switch Cameras
We have added a button that allows you to switch cameras if your device has more than one. This is especially useful when:
You are using a desktop or laptop and you want to choose a specific webcam
You are using a tablet as a kiosk, and it is easier to scan with the front-facing camera than the rear-facing camera
Viewfinder
There is a new Viewfinder button that will toggle a viewfinder overlay on or off. This is more than just eye candy though: when enabled, the scanner will only search the area within the viewfinder window. We have noticed significant improvements in scan performance with the viewfinder enabled, especially for extremely small barcodes.
Light On Dark Support
Where applicable, our scanner will now automatically read codes that are printed with “inverted” colors – that is, white or light codes on black or dark backgrounds.
For example, tiny light-on-dark Data Matrix codes are commonly found on the bottom of electronics like Logitech MX-series mice and newer Dell laptops. These codes can now be scanned easily, especially with the Viewfinder enabled:
If you notice any difference with the scanner – positive or negative! – please let us know! We love to hear how we are doing and how we can improve.
A new template is available when generating asset tags for printing: Avery L6009. This template generates 45.7mm x 21.2mm tags, 48 per sheet. The template uses standard A4 sheets and is polyester film that can be printed with a standard laser printer.
Avery L6009 labels can be purchased easily from multiple countries, including the US and UK.
Our Labels report (previously called Asset Tags) has been expanded to support printing labels from People records.
We have received many requests to support printing scannable labels for borrowers as well as assets, and this new report makes the process much easier.
To print scannable labels for people in your Assetbots directory, follow these steps:
Make sure you have a Person field that can be used as an identifier, like Badge ID or Employee ID. The easiest place to source this data is using an integration like our Azure Active Directory or Google Workspace integrations.
Visit the Reports tab and click on Labels. Choose People under Print labels for, and then choose the field you created in step 1 under Tag ID field.
Click Next and select the Person records you would like to print labels for.
It is important to note that your Badge ID or Employee ID values should be unique, even across your asset Tag values. When scanning from a kiosk, Assetbots will search all Asset and Person records for the best match, so if you have the same ID in multiple places it may not behave as expected.
Pro tip: Did you know you can do text replacements in our Labels report? You can reference any field using that field’s Key, which can be found in the Edit Fields dialog. Simply place the key between double curly brackets to add the field’s value to your tags. For example, I can print tags that include my employee’s Name and Email like this: