Product Updates

New features and product improvements from the team at Assetbots.

Filter Results in the API

New Feature

Customers using the Assetbots API can now find records more easily using our new filtering support.

Our API has always supported list operations, for finding all records in your database, as well as get operations, for getting specific records by ID. What has been missing until now is filtering list operations, which allow you to get specific records by fields other than their ID.

A common request from customers has been to get an asset by its serial number, or to get a person by their email address. These operations are now possible with this enhancement.

Filtering in the Assetbots API is based on the OData filter options, and while we do not support the complete specification, we support the most common use cases.

To get started, make sure you have generated an API key for your database. To do so, visit Settings > API Keys. You can use our interactive documentation to experiment with your queries as you follow along.

Filters are defined in the $filter query parameter. To construct a filter, you create clauses based on field keys, which are unique to your database. For example, if you have a Text field called Serial Number with key serialNumber, you can find records with Serial Number equal to 123456 with the following filter:

serialNumber eq 123456

Adding this to the query string, the full URL becomes:

https://api.assetbots.com/v1/assets?%24filter=serialNumber%20eq%20123456

You can combine multiple clauses using and and or, and you can use any one of the following comparison operators:

  • eq (equal)
  • gt (greater-than)
  • ge (greater-than-or-equal)
  • lt (less-than)
  • le (less-than-or-equal)
  • nq (not-equal)

Finally, you can use paths if you would like to filter on a nested value. For example, if you would like to find all assets that cost more than $2,500 and you have a Money field with the key cost, you would use:

cost.amount gt 250000

Note in the filter above that we use 250000 instead of 2500. That is because USD is a currency with a scale of 2. You can query your database to see how the currency you use is stored by Assetbots if you’re not using USD.

Filtering is available today in the Assetbots API and can be used with assets, people, and locations.

We hope this enhancement makes working with our API much easier for your organization. If you need any help or have any questions, please open a ticket with our team in your account dashboard.

Happy tracking!

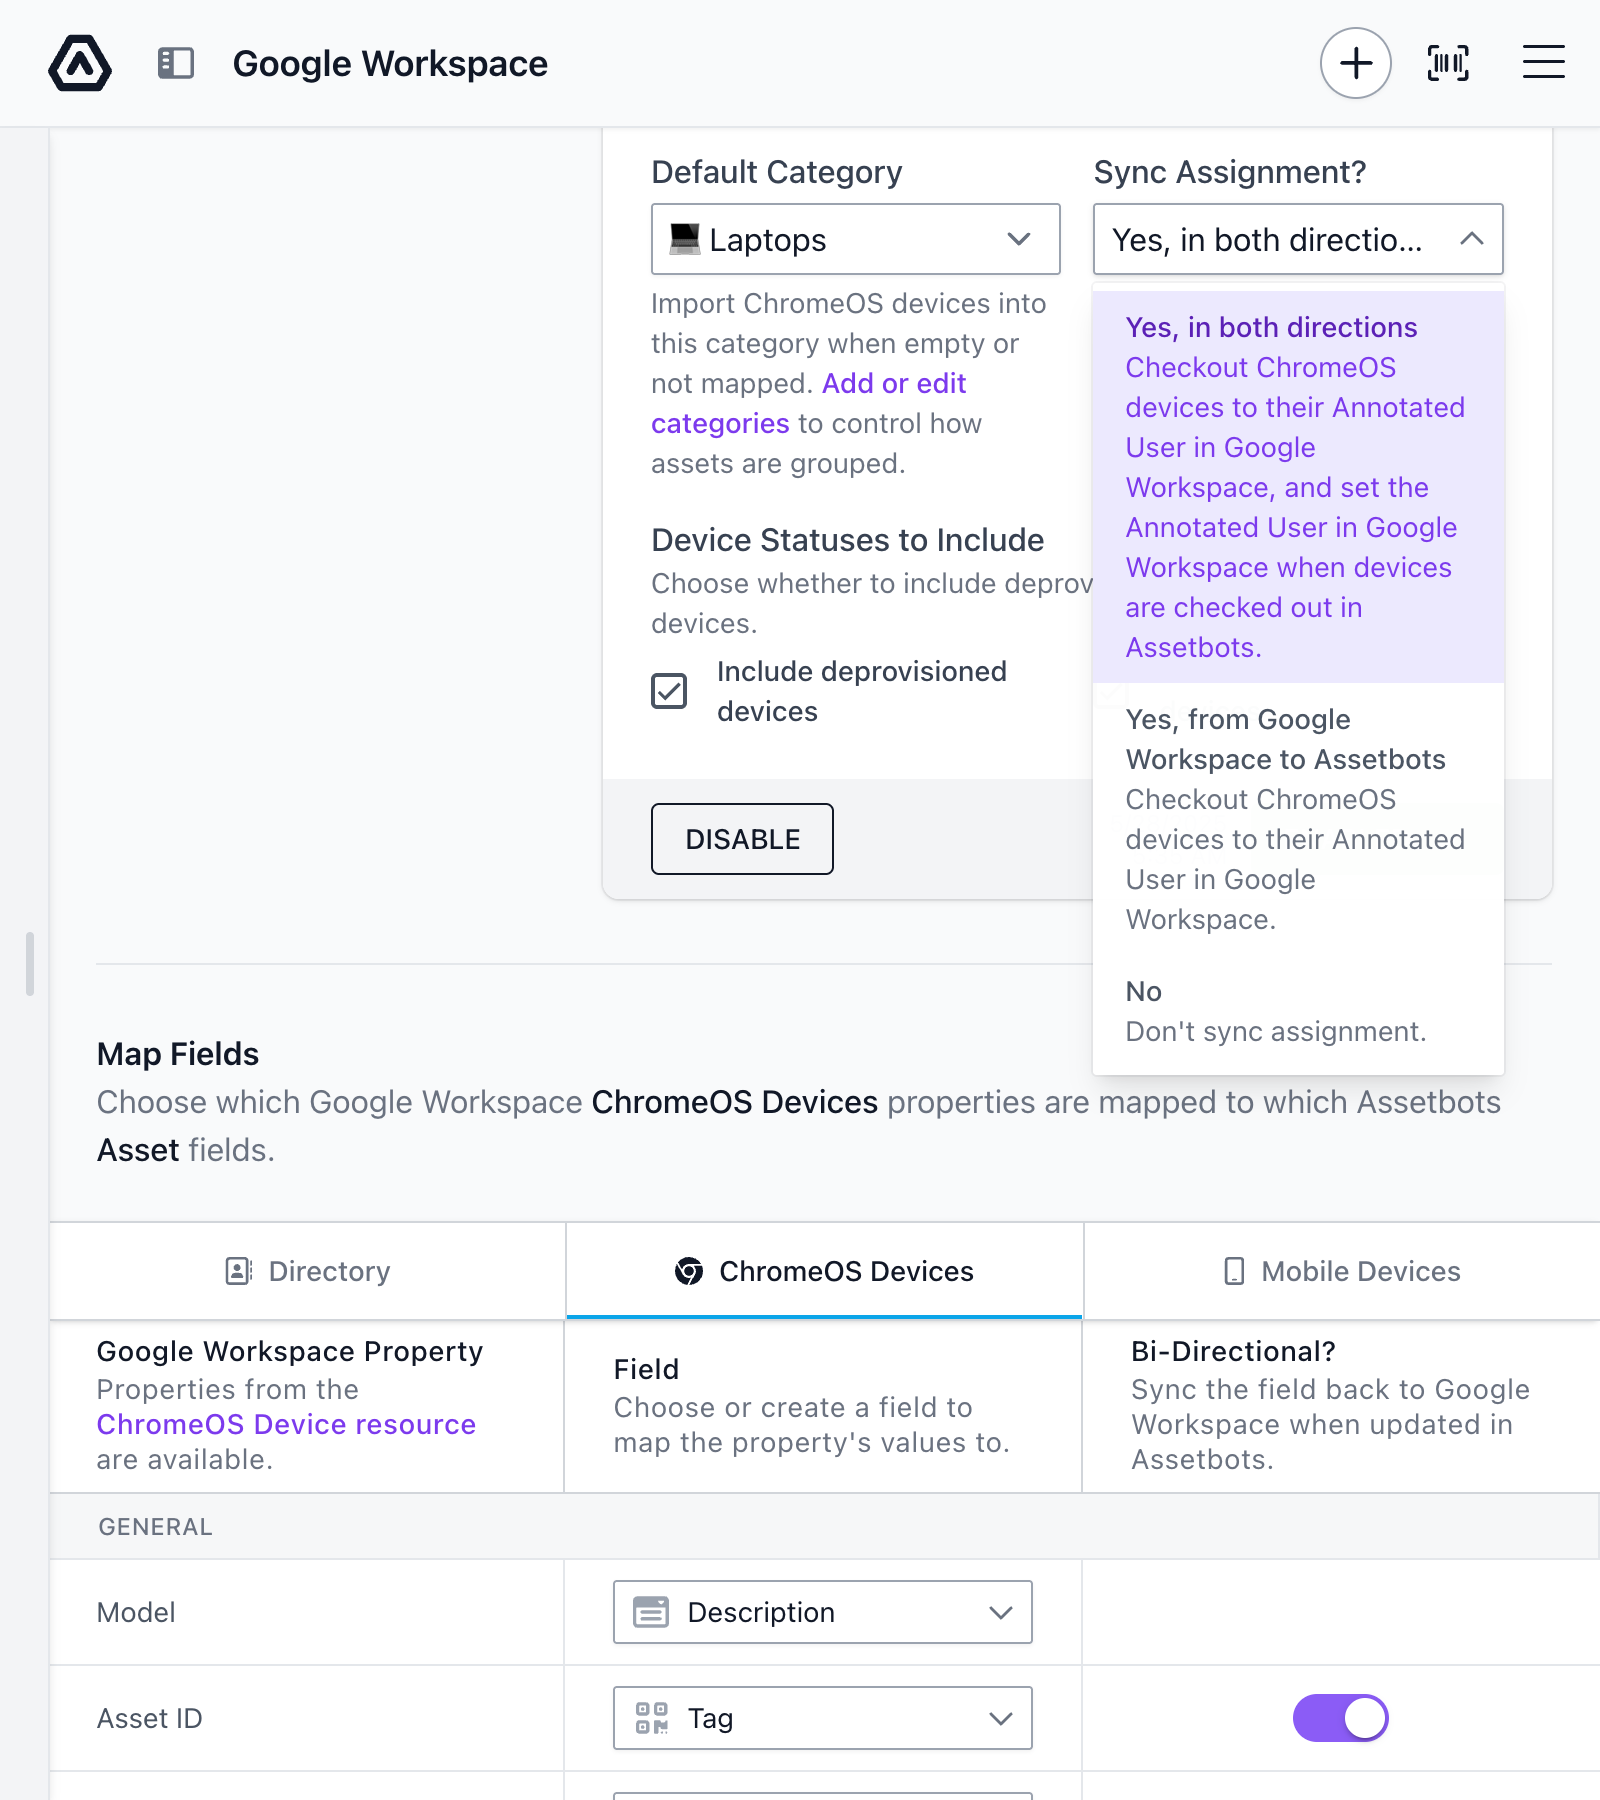
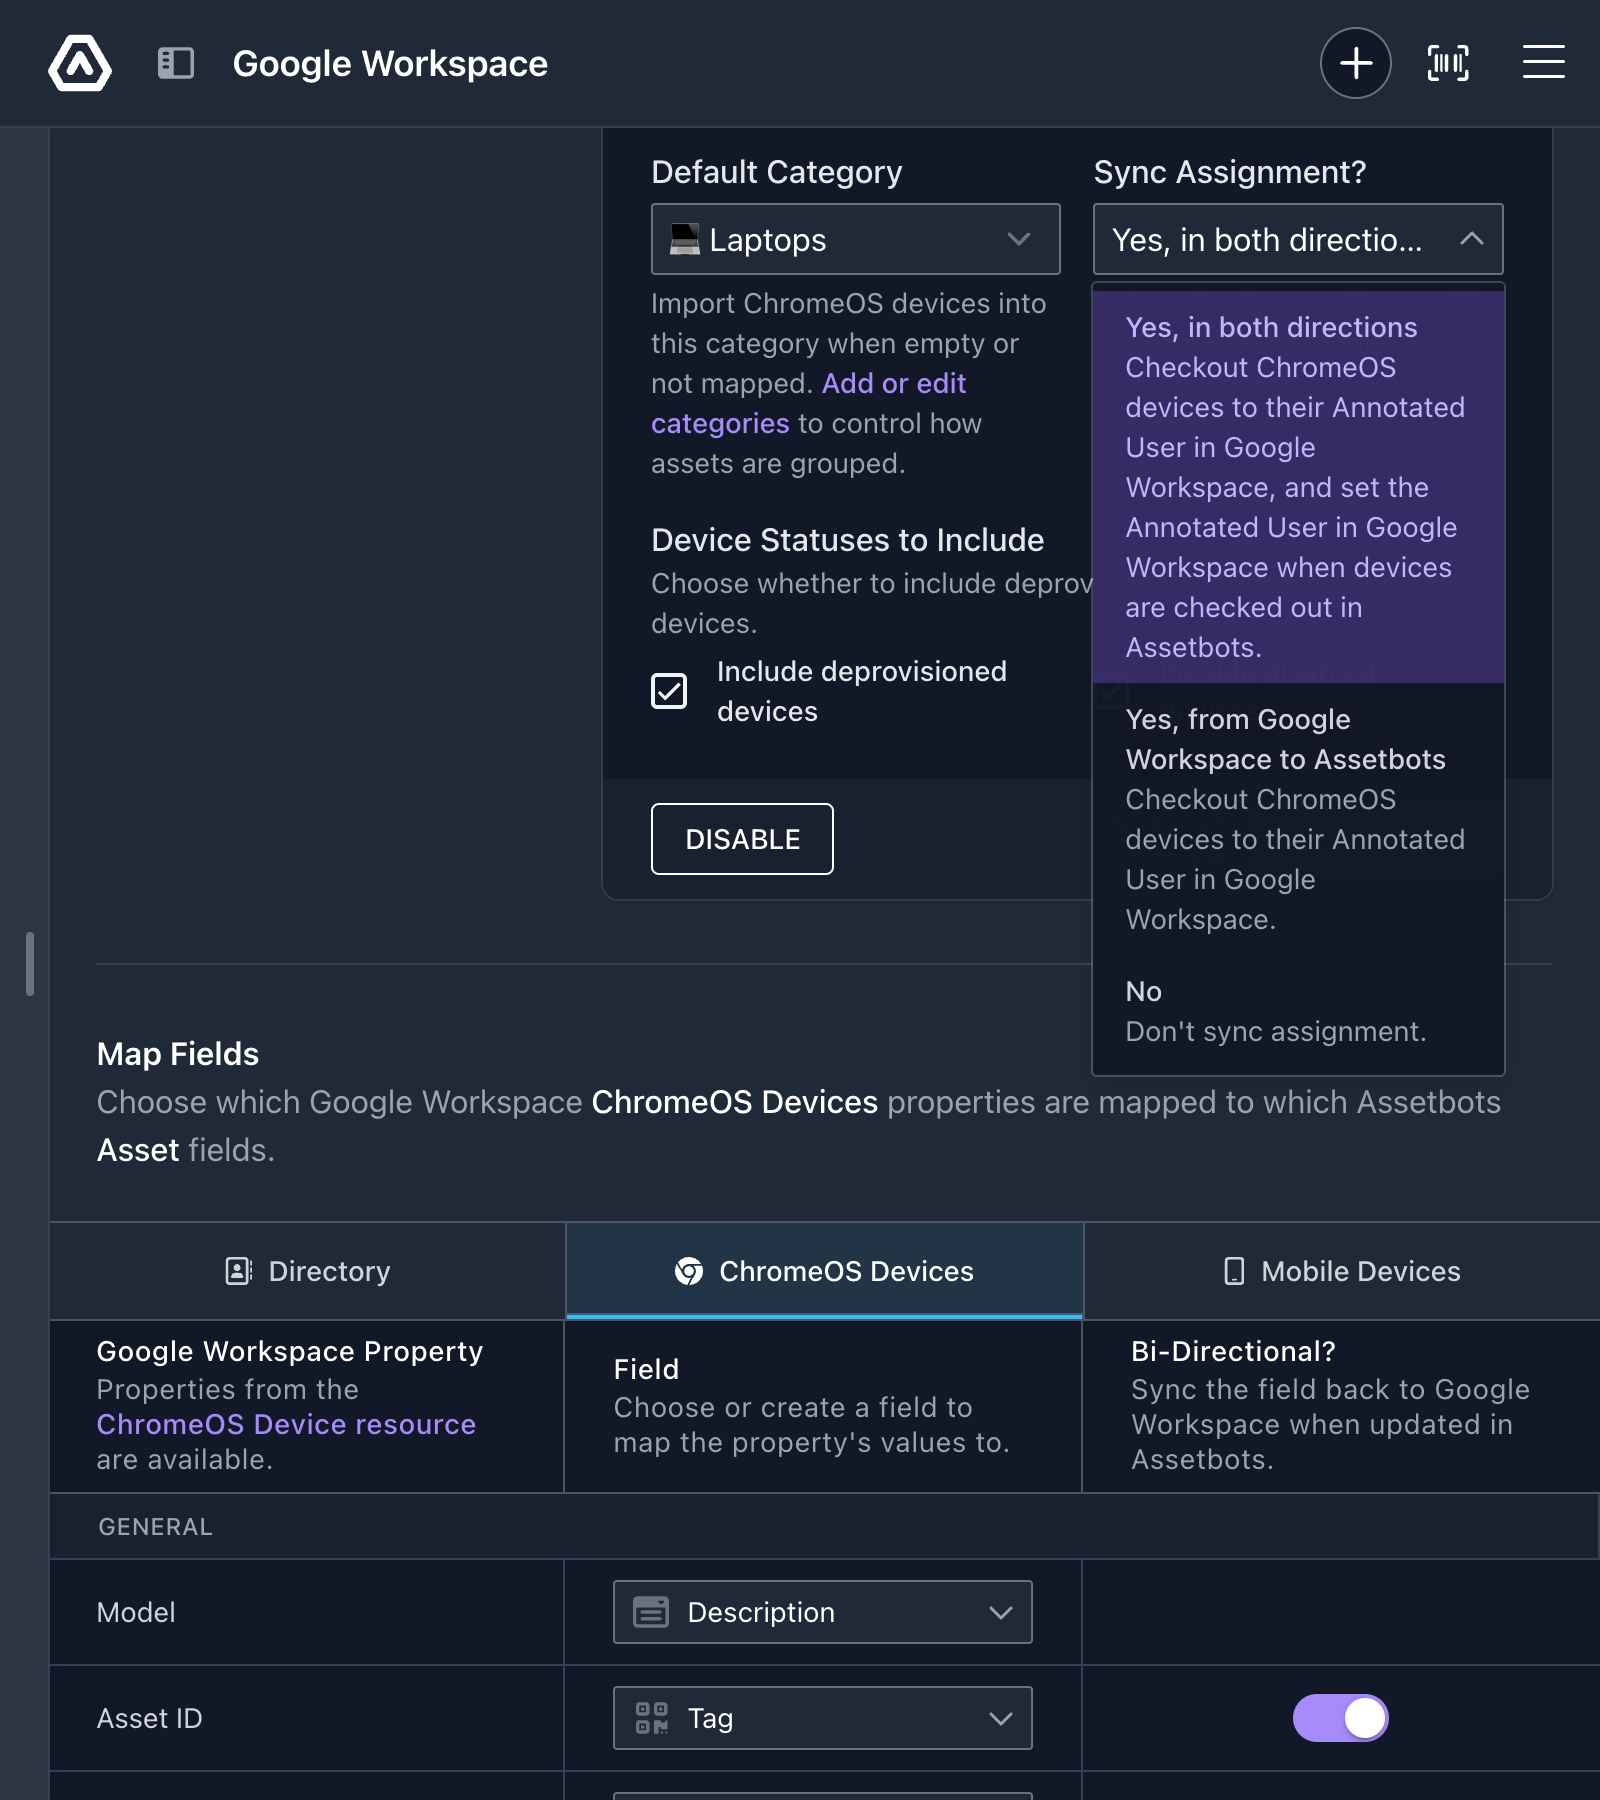
We’re excited to announce the release of our Mosyle OneK12 and Manager integration. Automatically sync Mosyle devices and users into your Assetbots database as assets and people.

This integration also offers the ability to perform two-way syncs of Mosyle device assignments (as checkouts), asset tag IDs and other data, as well as perform device quick actions on Mosyle devices right from Assetbots.

Take a look at our setup guide and connect your Mosyle account to Assetbots today!

A new template is available when generating asset tags for printing: Avery Presta® 94221. This template generates 1" x 2 1/2" tags, 24 per sheet. The template uses US letter sheets with multiple material options available, and can be printed with a standard laser printer.

Avery Presta® 94221 labels can be purchased easily from the US.

Do you have a template you’d like to see added? Please let us know!

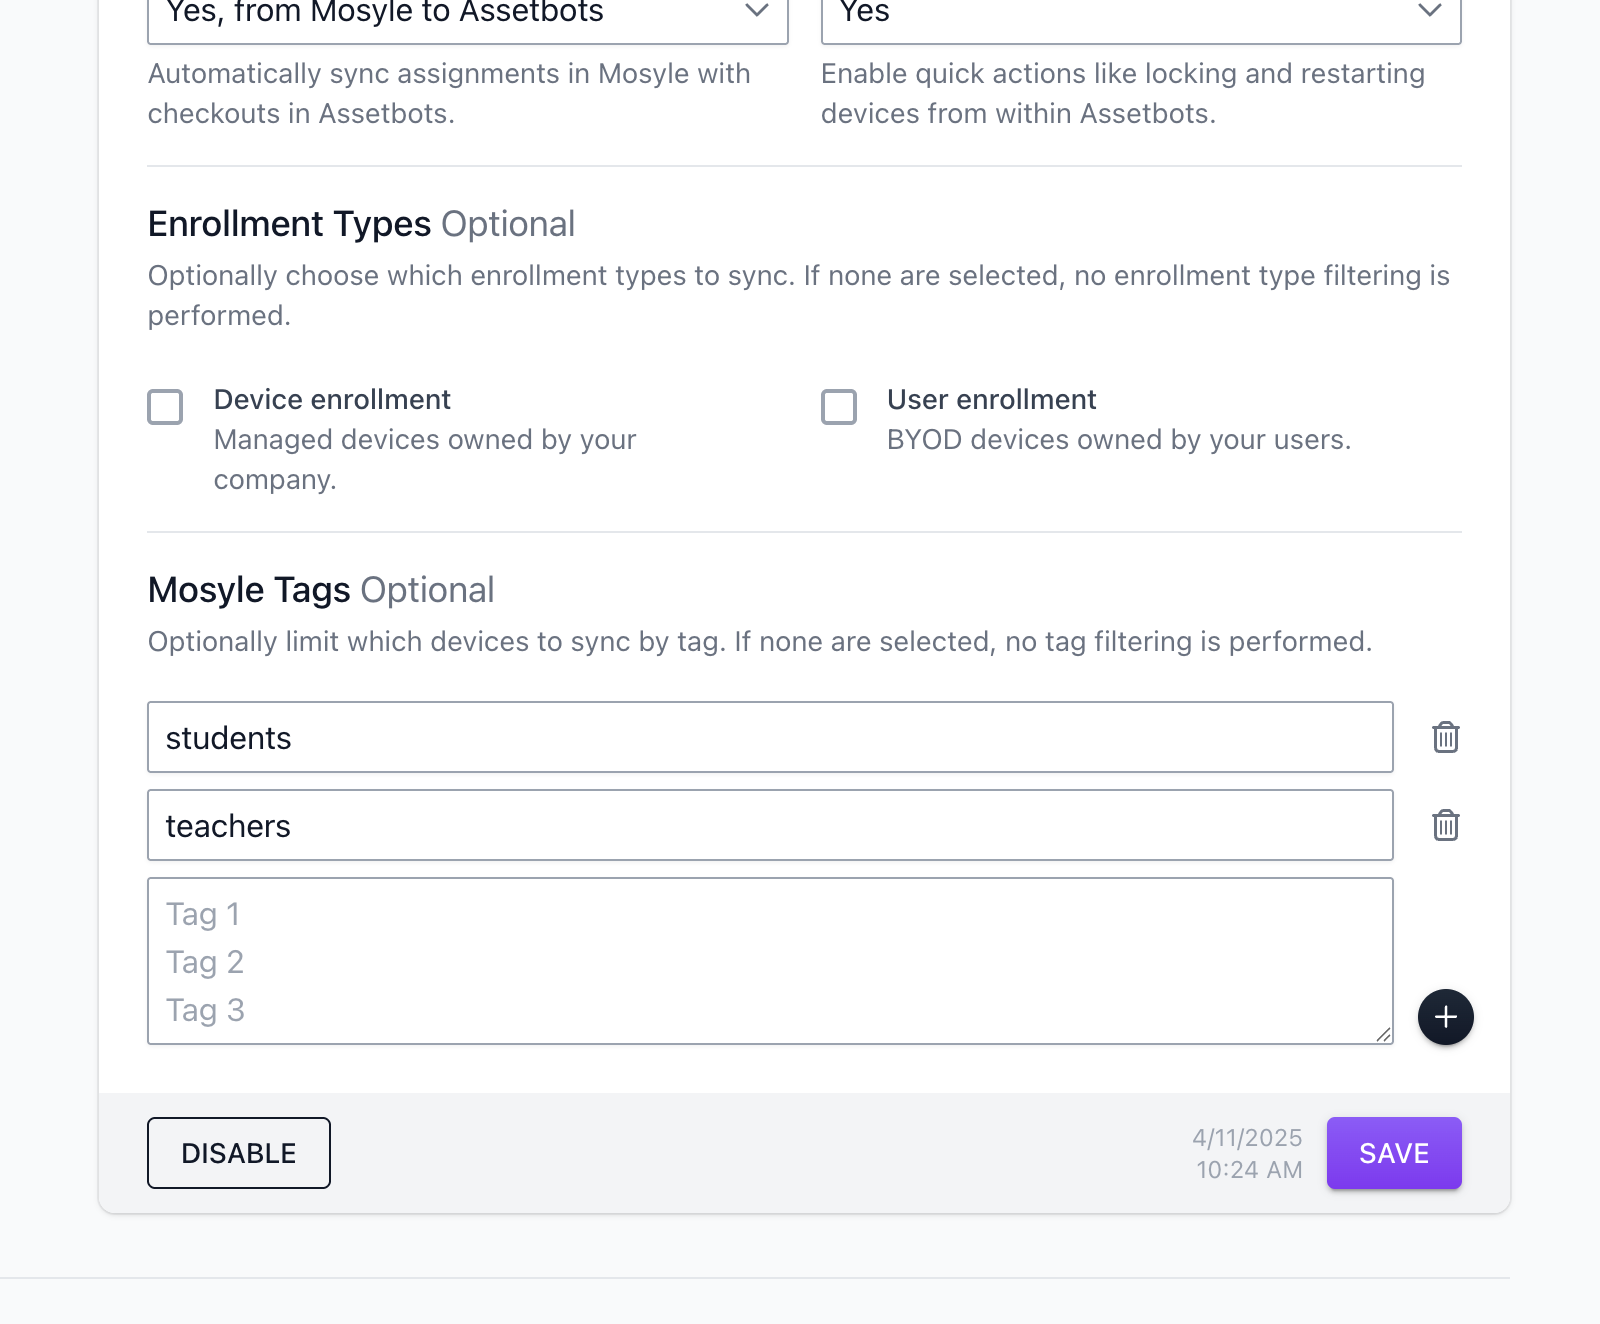
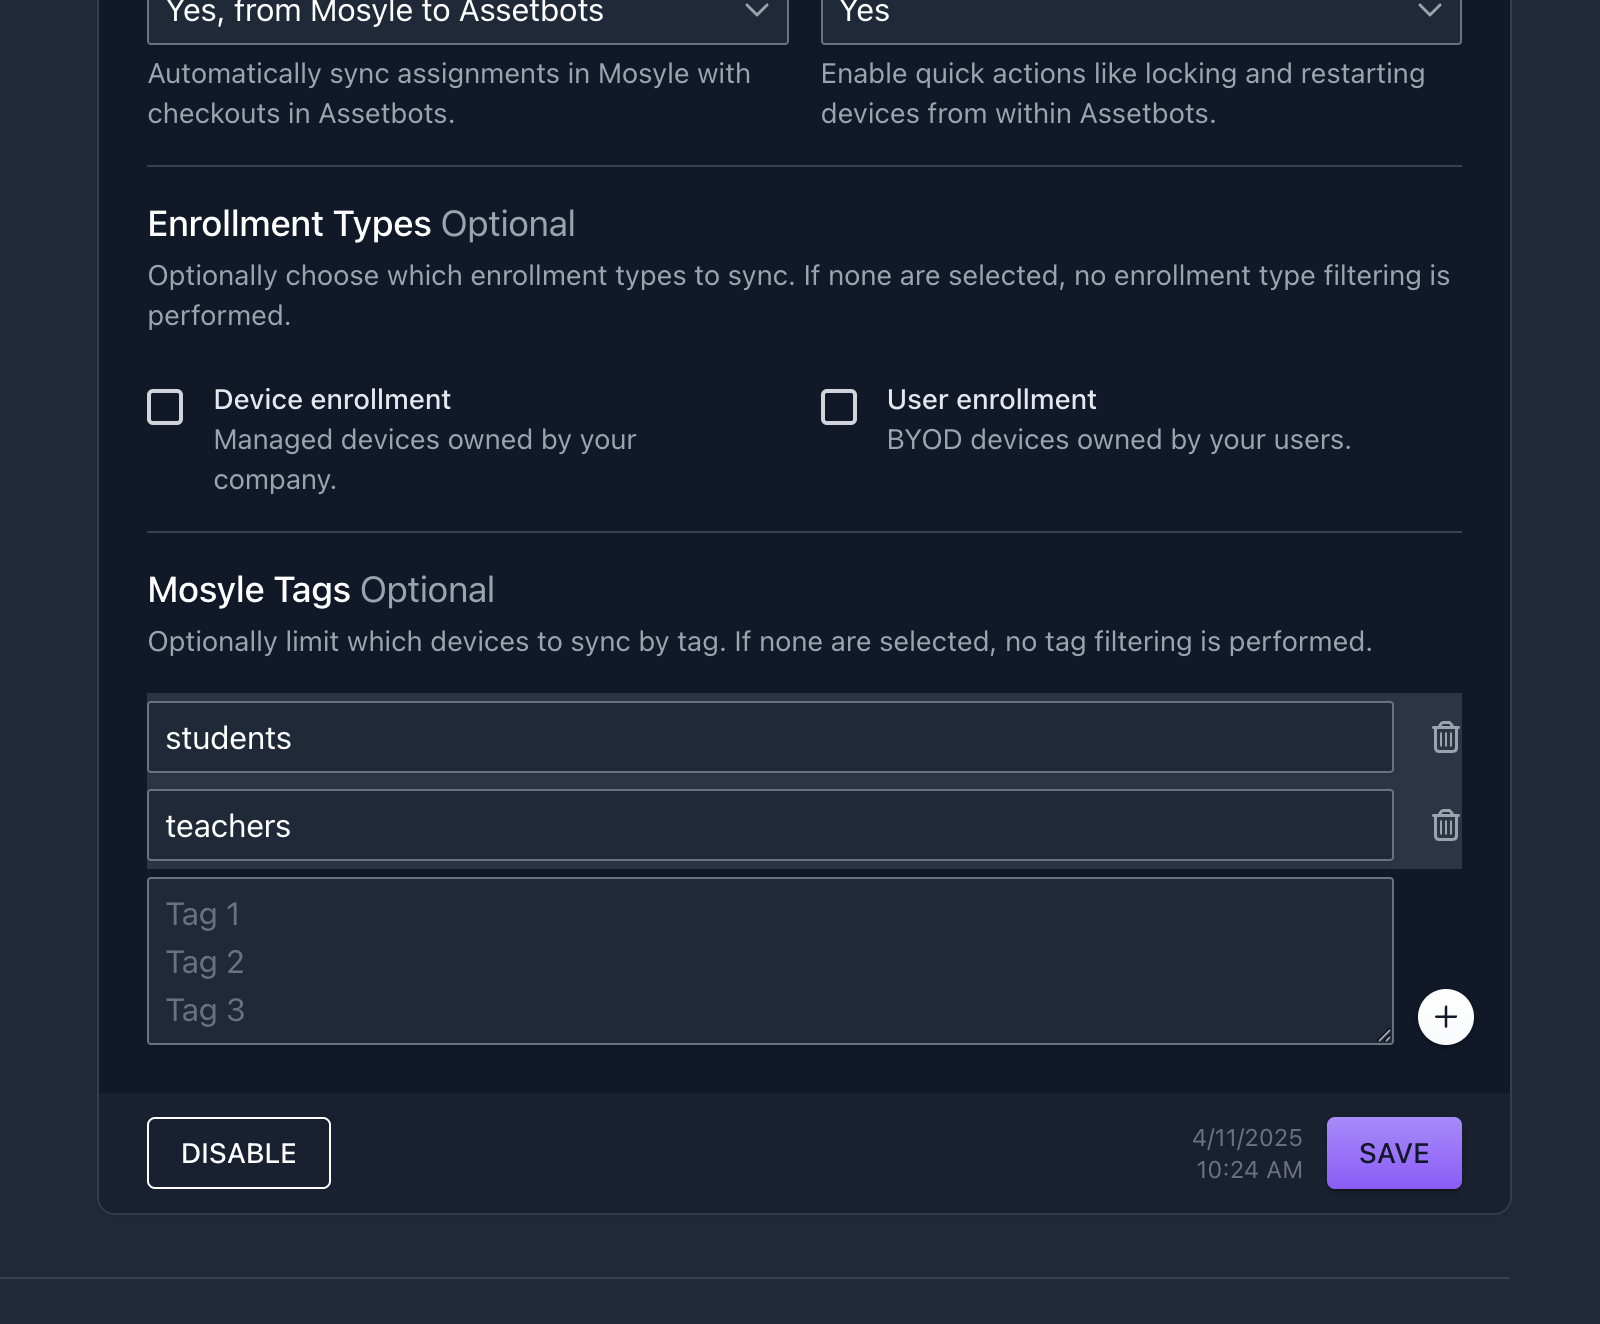
We’re excited to announce the release of our Mosyle integration. Automatically sync Mosyle devices and users into your Assetbots database as assets and people.

This integration also offers the ability to perform two-way syncs of Mosyle device assignments (as checkouts), asset tag IDs and other data, as well as perform device quick actions on Mosyle devices right from Assetbots.

Take a look at our setup guide and connect your Mosyle account to Assetbots today!

Sync Fields Bot Automation

New Feature

We’re excited to announce a new Bot automation action: Sync Fields! Adding this action to an automation allows you to automatically sync field data between records involved in the event.

For example, you may want to create a report view in your asset registry to quickly see which assets are in use by each department. To automate this, you can create a Department field on both your Person and Asset records. Then, create a Bot automation to sync the data from the Person record to related Asset records each time assets are checked out.

Here is how to get started:

1. Prepare Your Fields

Ensure the fields you want to sync are created and compatible on each record you want to sync data between. Compatible in this case means they hold the same type of data (e.g., Date fields can sync to other Date fields). In our example, we create Department fields on our Person and Asset records.

Create a Department field

Create a Department field

2. Create a Bot

Create a new Bot automation or edit an existing one to add a Sync Fields action in response to a relevant trigger. In our example, we create a new Bot that is triggered when a Checkout is Checked Out and sync fields from the Checkout Person to the Assets in Checkout.

Sync Fields action

Sync Fields action

3. Data is Synced Automatically

Our asset registry now has the Department field synced automatically, so we can easily filter to see which assets are in use by each department!

Department is synced

We can’t wait to see what you build with this new Bot action. Stay tuned for many more exciting and powerful features coming soon. Until then, happy tracking!

Two-Factor Authentication

New Feature

We are thrilled to announce that Assetbots now supports two-factor authentication!

Modern security best-practices recommend enabling two-factor authentication (2FA or MFA) when available, and now you can add Assetbots to your list of more-secure providers!

To enable 2FA for your Assetbots account, click on your profile image or initials in the top-right corner of the screen and then click on your name to bring up your profile. You can also navigate to your profile directly by visiting https://app.assetbots.com/me.

Scroll down to the Two-Factor Authentication section and click Enable 2FA. To proceed, you must have an authenticator app installed on your mobile device – we recommend Google Authenticator, 1Password or Authy. Scan the QR code using your authenticator app or enter the generated code manually. Finally, enter the 6-digit verification code generated by your authenticator app and click Verify Code.

Enable two-factor authentication

Enable two-factor authentication

If this is your first time enabling two-factor authentication for your Assetbots account, you will be shown 10 backup codes you can use in case you lose access to your device. Store these codes somewhere safe. Each code may only be used once, and they will never be shown to you again.

Save backup codes

Save backup codes

Once enabled, you will be prompted to enter the verification code generated by your authenticator app when you sign in. You can optionally choose to have Assetbots remember your browser to make signing in more convenient. If you lose your device, you can click the Use a Backup Code button to use one of your backup codes instead.

Two-factor authentication

Two-factor authentication

We hope you take advantage of the increased security offered by enabling two-factor authentication for your Assetbots account. Please contact us if you have any questions or need any help getting set up.

Until next time, happy tracking!

Set Bot Automation Time Zone

UI Improvement

We’ve added a Time Zone field to bot automations!

Now you can specify which time zone your bots should use when displaying dates and times in generated messages. This is especially useful when sending emails or text messages to your borrowers reminding them of upcoming due dates or confirming their reservations.

Time zone field

Time zone field

All date and time helpers are now time zone aware. If you need a refresher on template helpers and our bot actions system, take a look at the Actions documentation.

Happy tracking!

SendGrid and Twilio Integrations

New Feature

We’re happy to announce two new integrations that unlock even more power for your Bot automations!

SendGrid

Use your own SendGrid account

Use your own SendGrid account

Your bots can send emails using an email address you control when you enable the SendGrid integration. You can set a default From address and name, and even disable the default Assetbots footer and disclaimers.

Twilio

Use your own Twilio account

Use your own Twilio account

When you enable the Twilio integration, your bots will gain the ability to send text messages. Create best-in-class reminder sequences using a mix of texts and emails to make sure your equipment is returned when it is supposed to be.

Happy tracking!

Make Any Text Field Scannable

New Feature

You can now enable the built-in scanner on any Text field!

To enable, open the field editor for the appropriate record type (Asset, Person, Location, Repair or Reservation), which can be found in the More Actions dropdown to the left of the Add button.

Select a Text field to edit, or add a new one. A new properties editor is available with options for Scan Button?. Choose Yes to enable or No to disable.

Field editor with scan button

Field editor with scan button

Once enabled, this field will have a new Scan button available, which can be used to open the scanner. Any value scanned by the scanner will be entered into the field automatically.

Scannable serial number

Scannable serial number

We've also updated our database templates to enable scanning on serial number fields by default.

Happy tracking!

We’ve added two new calculated field types to help you keep better tabs on your assets, as well as to unlock some advanced capabilities in our new Bots automation feature.

Count

Add a Count field to dynamically calculate the number of related records. Once added, you can use this field to filter and sort list views, as well as condition bot automations.

Count field setup

Count field setup

You can create dynamic counts of:

  • Checked out assets (for Person and Location records)
  • Reserved assets (for Person and Location records)
  • Related assets (for Repair and Reservation records)
  • Attached files (for all record types)

Count Filter Example

To filter lists based on a count field, you append either .any or .sum to the field key. For example, if you create a field called Asset Count, the default field key will be assetCount. To list all records with at least one asset, enter the following filter value:

assetcount.any:true

Relative Date

Add a Relative Date field to dynamically calculate a date based on another date field. For example, if your organization requires assets to be calibrated every six months and you have a Date field called Last Calibration Date, you can add a Relative Date field called Next Calibration Date and set its duration to 6 Months.

Relative date field setup

Relative date field setup

Once defined, you can create a bot automation to email and text you every time an asset’s Next Calibration Date passes or is coming soon.

Calibration notification bot

Calibration notification bot

These new field types are available today to all of our users, both free and paid. Bot automations are currently in beta, but if you would like to enable them for your account please let us know!

Happy tracking!