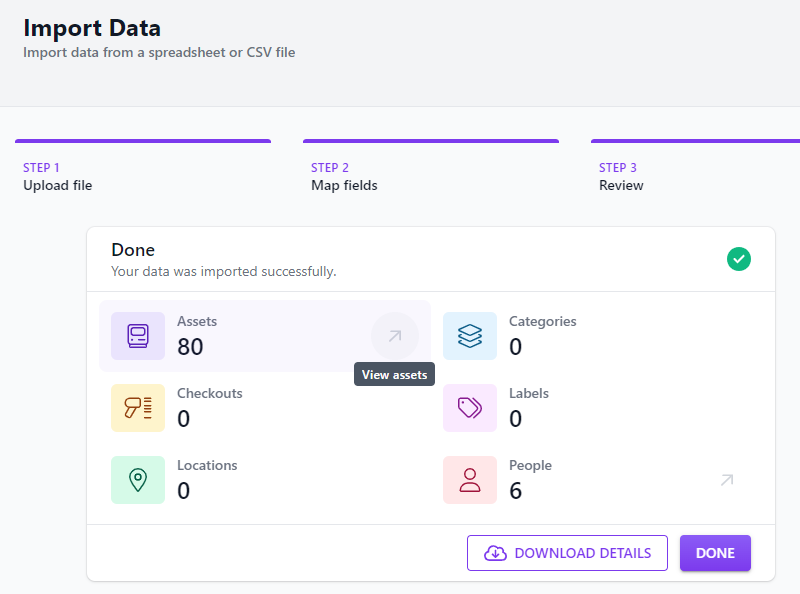
We’ve added handy links to the Import Review screen that take you directly to filtered lists of imported records.
This works for Assets, Checkouts, Locations and People. If any of those records were imported successfully, a View assets link will appear that will take you directly to the relevant list, filtered to just this import.
View assets link
The links will open in a new tab so you can open multiple lists if you need to.
We’re excited to announce our new Dell Warranty Sync integration! Once enabled, you are now able to automatically sync warranty details for all your Dell devices.
We’d typically write a setup guide to help you get started, but we think this integration deserves its own video – so check it out below!
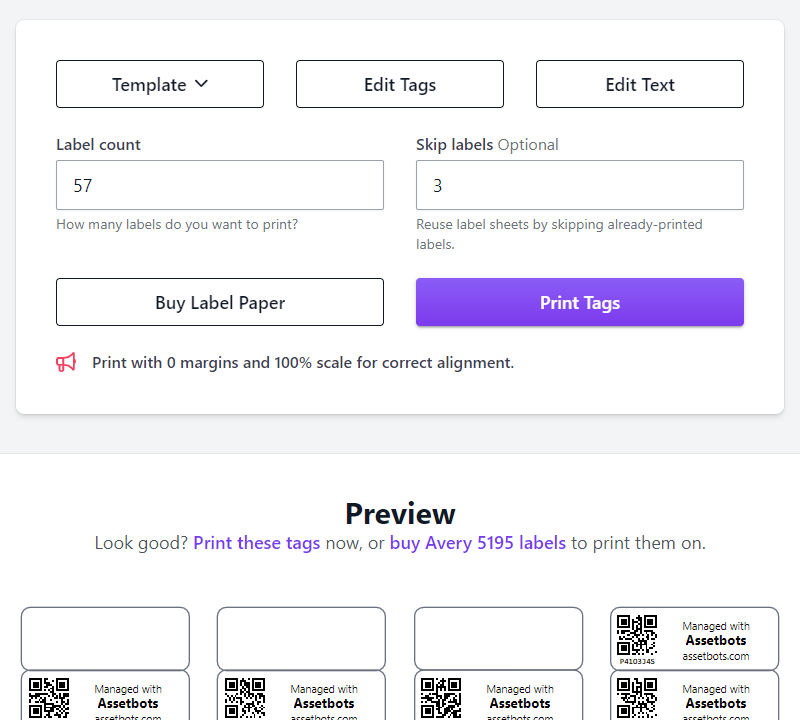
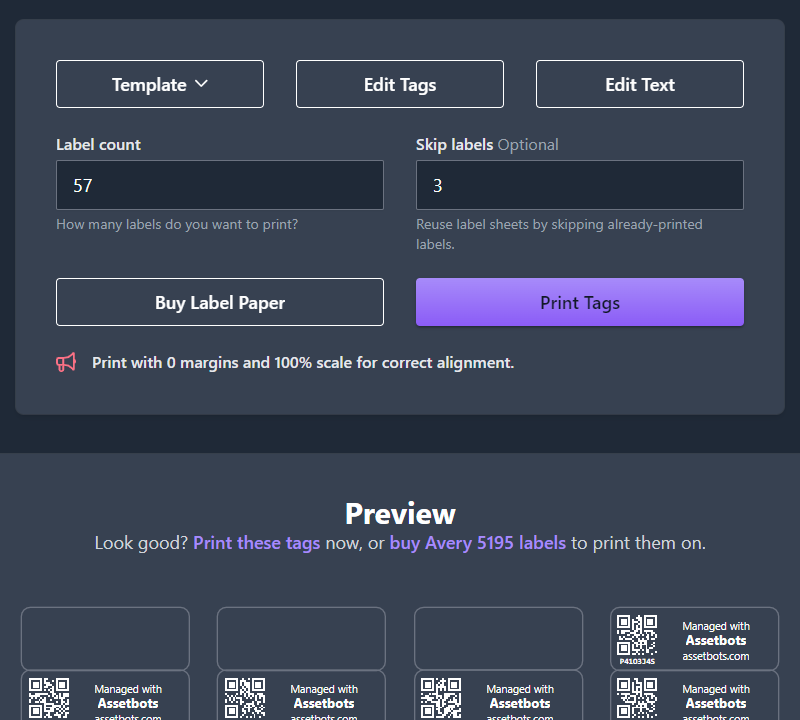
A new template is available when generating asset tags for printing: Avery L4778. This template generates 45.7mm x 21.2mm tags, 48 per sheet. The template uses standard A4 sheets and is a polyester material that can be printed with a standard laser printer.
Avery L4778 labels can be purchased easily from multiple countries, including the UK, Australia and New Zealand.
We’ve created a new field type called Age that can be added to any record that supports custom fields (e.g., Assets, People, Locations, Repairs, and Reservations).
This is our first Computed field, and we’re excited about the types of abilities we can unlock for our users using this concept in the future.
A computed field is one that does not directly hold any data, but instead uses data in other fields to generate a value. For Age fields, you specify another Date or DateTime field and it will calculate the difference between now and the related field’s value.
Assetbots supports specifying the unit of calculation (either days, weeks, months or years) as well as the direction (past or future).
Two common examples of using this field now ship with our Business and Technology templates:
Calculate the age of an asset, from when it was acquired until now, in years.
Calculate the amount of time remaining on an asset’s warranty, in months.
It’s super easy to create your own Age fields too:
Visit the list of records you want to create the field for (e.g., the Asset list), click the More actions menu button and select Edit asset fields.
Edit asset fields
In the Asset Fields dialog, click Add Field and select Age for Field Type.
Enter the name of the field (e.g., Warranty Remaining) and configure the age calculation for your scenario.
Configure age field
Click Save Field and you’re done! Feel free to drag your new field to a different spot in the field list.
Please let us know what other kinds of computed fields you’d like to see (we already have a number on our roadmap but would love your input too!).
Our asset tag designers now support generating traditional 1D barcodes for all our templates.
Customers have requested that we generate 1D barcodes so they can use our tag designer with their external barcode scanners, not all of which support 2D variants like QR codes.
We’re happy to support this update in our public designer as well as in-app.
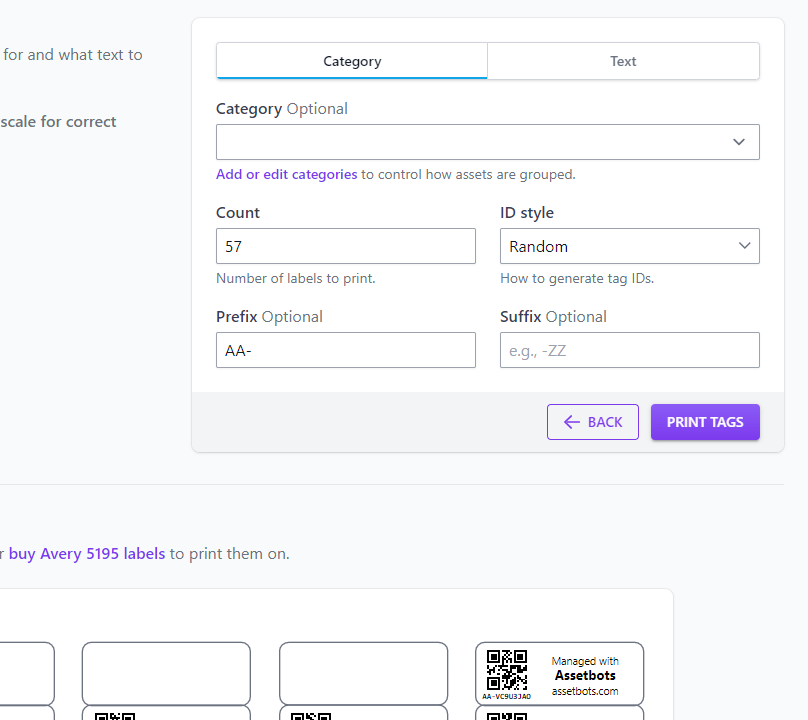
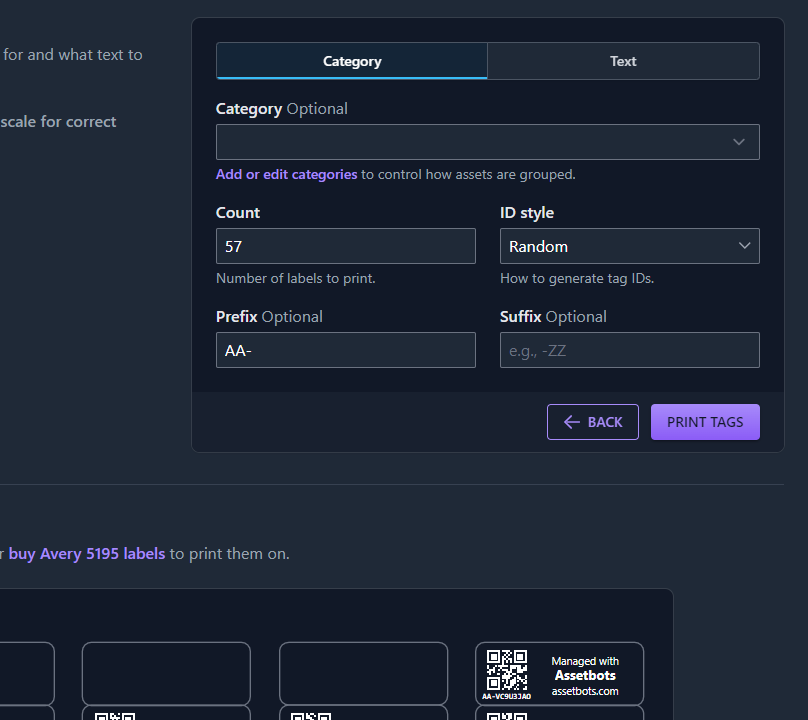
To use the public designer, visit https://www.assetbots.com/asset-tags. Select Edit Tags and switch Tag type to Barcode. Click Done and your preview will be updated with 1D barcodes.
Design barcode asset tags
To use the in-app designer, visit the Reports tab, then choose Asset Tags. Switch Tag type to Barcode and then select the assets you want to print tags for.
Design barcode asset tags in-app
We hope this update is helpful for your organization. If you have any questions, please contact us.
We’ve made adding assets with the scanner even faster. Scan any barcode or QR code on an asset that is not in your database and you will be prompted to add it. With this update, you will be immediately returned to the scanner again after adding the asset.
Even better: the next asset you add will remember the previously chosen category, so there are even less clicks if you’re adding a series of similar items.
During check-in, your users can mark items as in need of repair with one tap. If a repair is requested, they will be prompted for a description of the problem.
A new repair will be created with a status of Needs Repair. This will prevent those assets from being checked out again until the repair is completed or canceled.
Request repairs from kiosk
Requesting repairs by kiosk is disabled by default. To enable, edit a kiosk definition and select Yes for Request Repairs?
Also shipping with this update is the ability to add assets if they are missing, right from a kiosk. To enable, edit a a kiosk definition and select Yes for Add Assets?
We delivered some helpful UI improvements to finish out the month. We hope they make your work with Assetbots a little easier!
Warranty Report Improvements
We’ve added the ability to view assets with expired/ended warranties in the Warranty Report. You can also export assets directly from the warranty report – either those with expired warranties or those with warranties ending soon.
Custom Table Column Ordering Per-View
You can now control the order of your table columns on a per-view basis. This means you can have one order for the “default” view and a different order for each filter. Even better, you can separate the order of your table columns from the order of your fields.
Previously, the only way to rearrange table columns was to reorder your fields in the Edit Fields dialog. This order is still the default for table views, but it can now be overridden.
Our new Table Columns editor is available in the More actions menu under Choose table columns as well as in the Columns tab of the Edit Filter dialog.
Table column order
Select the columns you would like to display in the table, and they will be added to a new Columns section at the top of the list. Each column will have a gripper on the left you can use to drag and drop into your preferred order.
Specify Columns and Ordering in Person Asset Lists
When viewing the Assets and Check-In History tabs of a Person record, you now have the option to select and order which columns are displayed in the table. In the Assets tab you can select any available Asset or Checkout field, and in the Check-In History tab you can select any available Asset or Check-In field.
Customize person asset list columns
New Checkout Person and Checkout Location Columns Available in the Asset List
We’ve made two new columns available for selection in the main asset list: Checkout Person and Checkout Location. These should help you quickly see who has custody of assets that are checked out without having to navigate to any other views.
Allow Kiosk Users to Add and Edit People During Checkout
You can now configure your kiosks to allow for adding people to your database during checkout. This is especially useful if you have team members using the kiosk to checkout assets to customers, not all of whom are already added to your database.