Our asset tag designer is now live! We have two versions of this powerful tool available: one on our website and one in our app.
A Simple Asset Tag Designer for Everyone
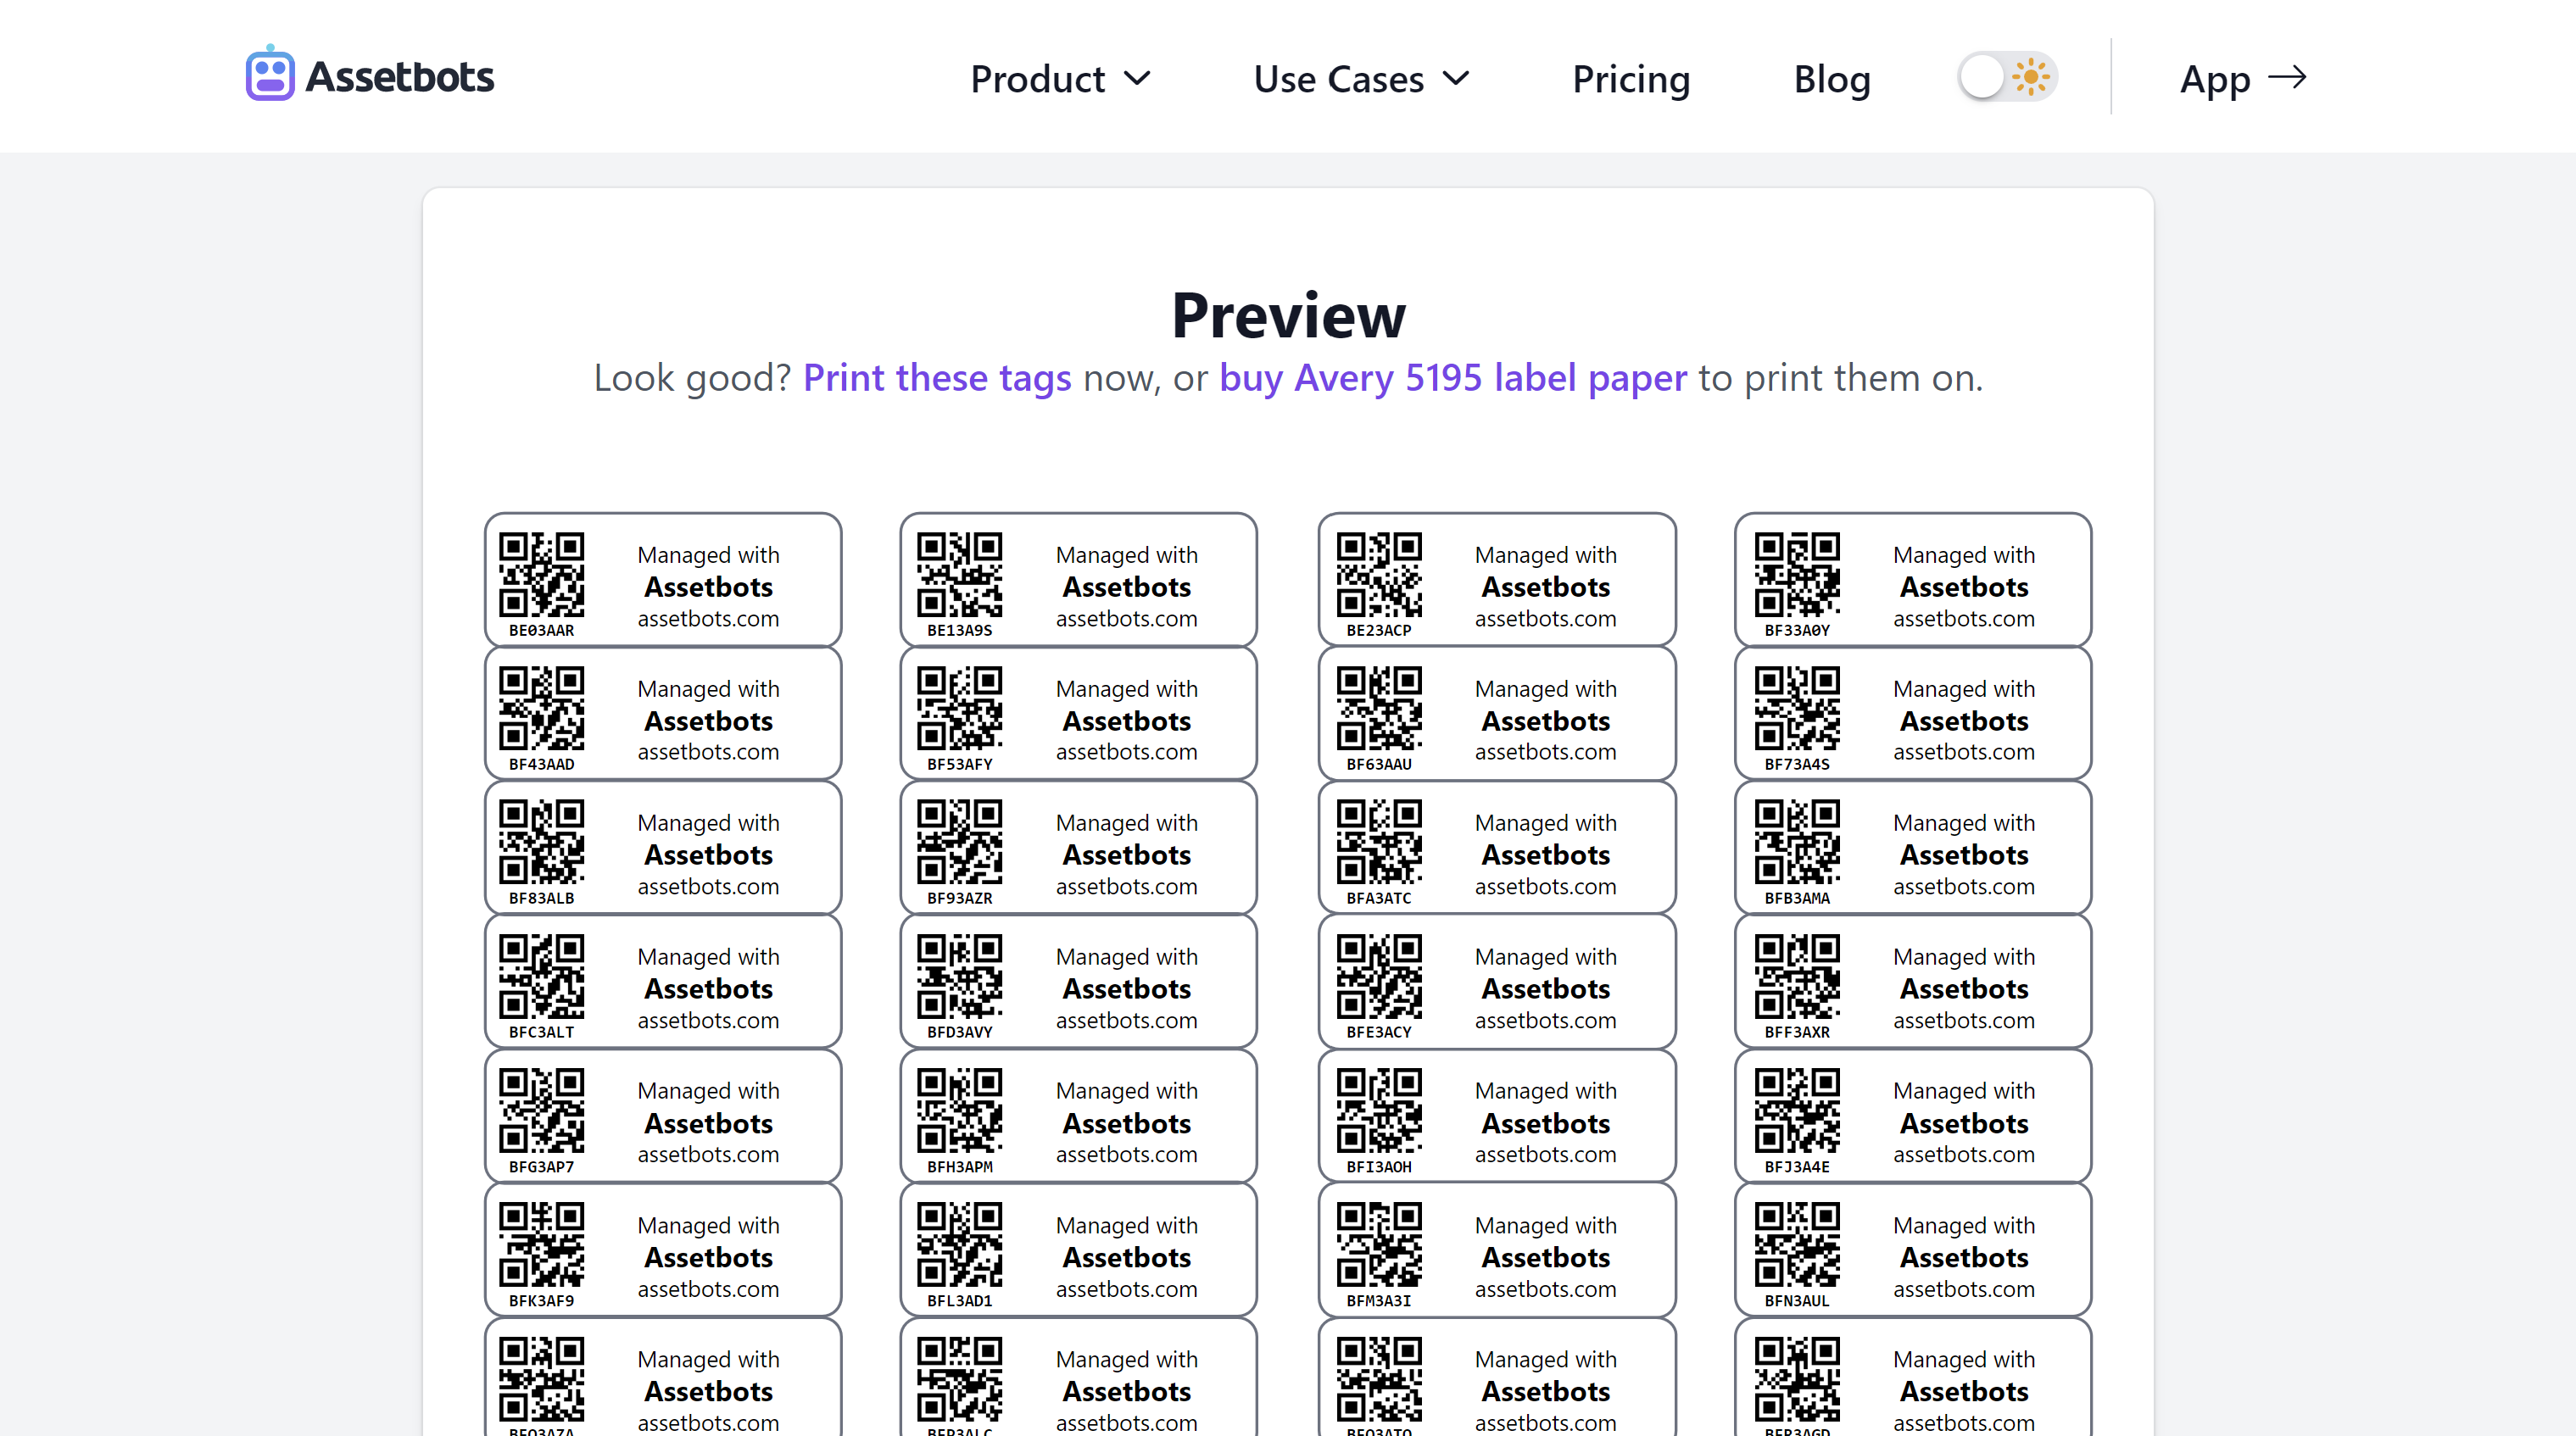
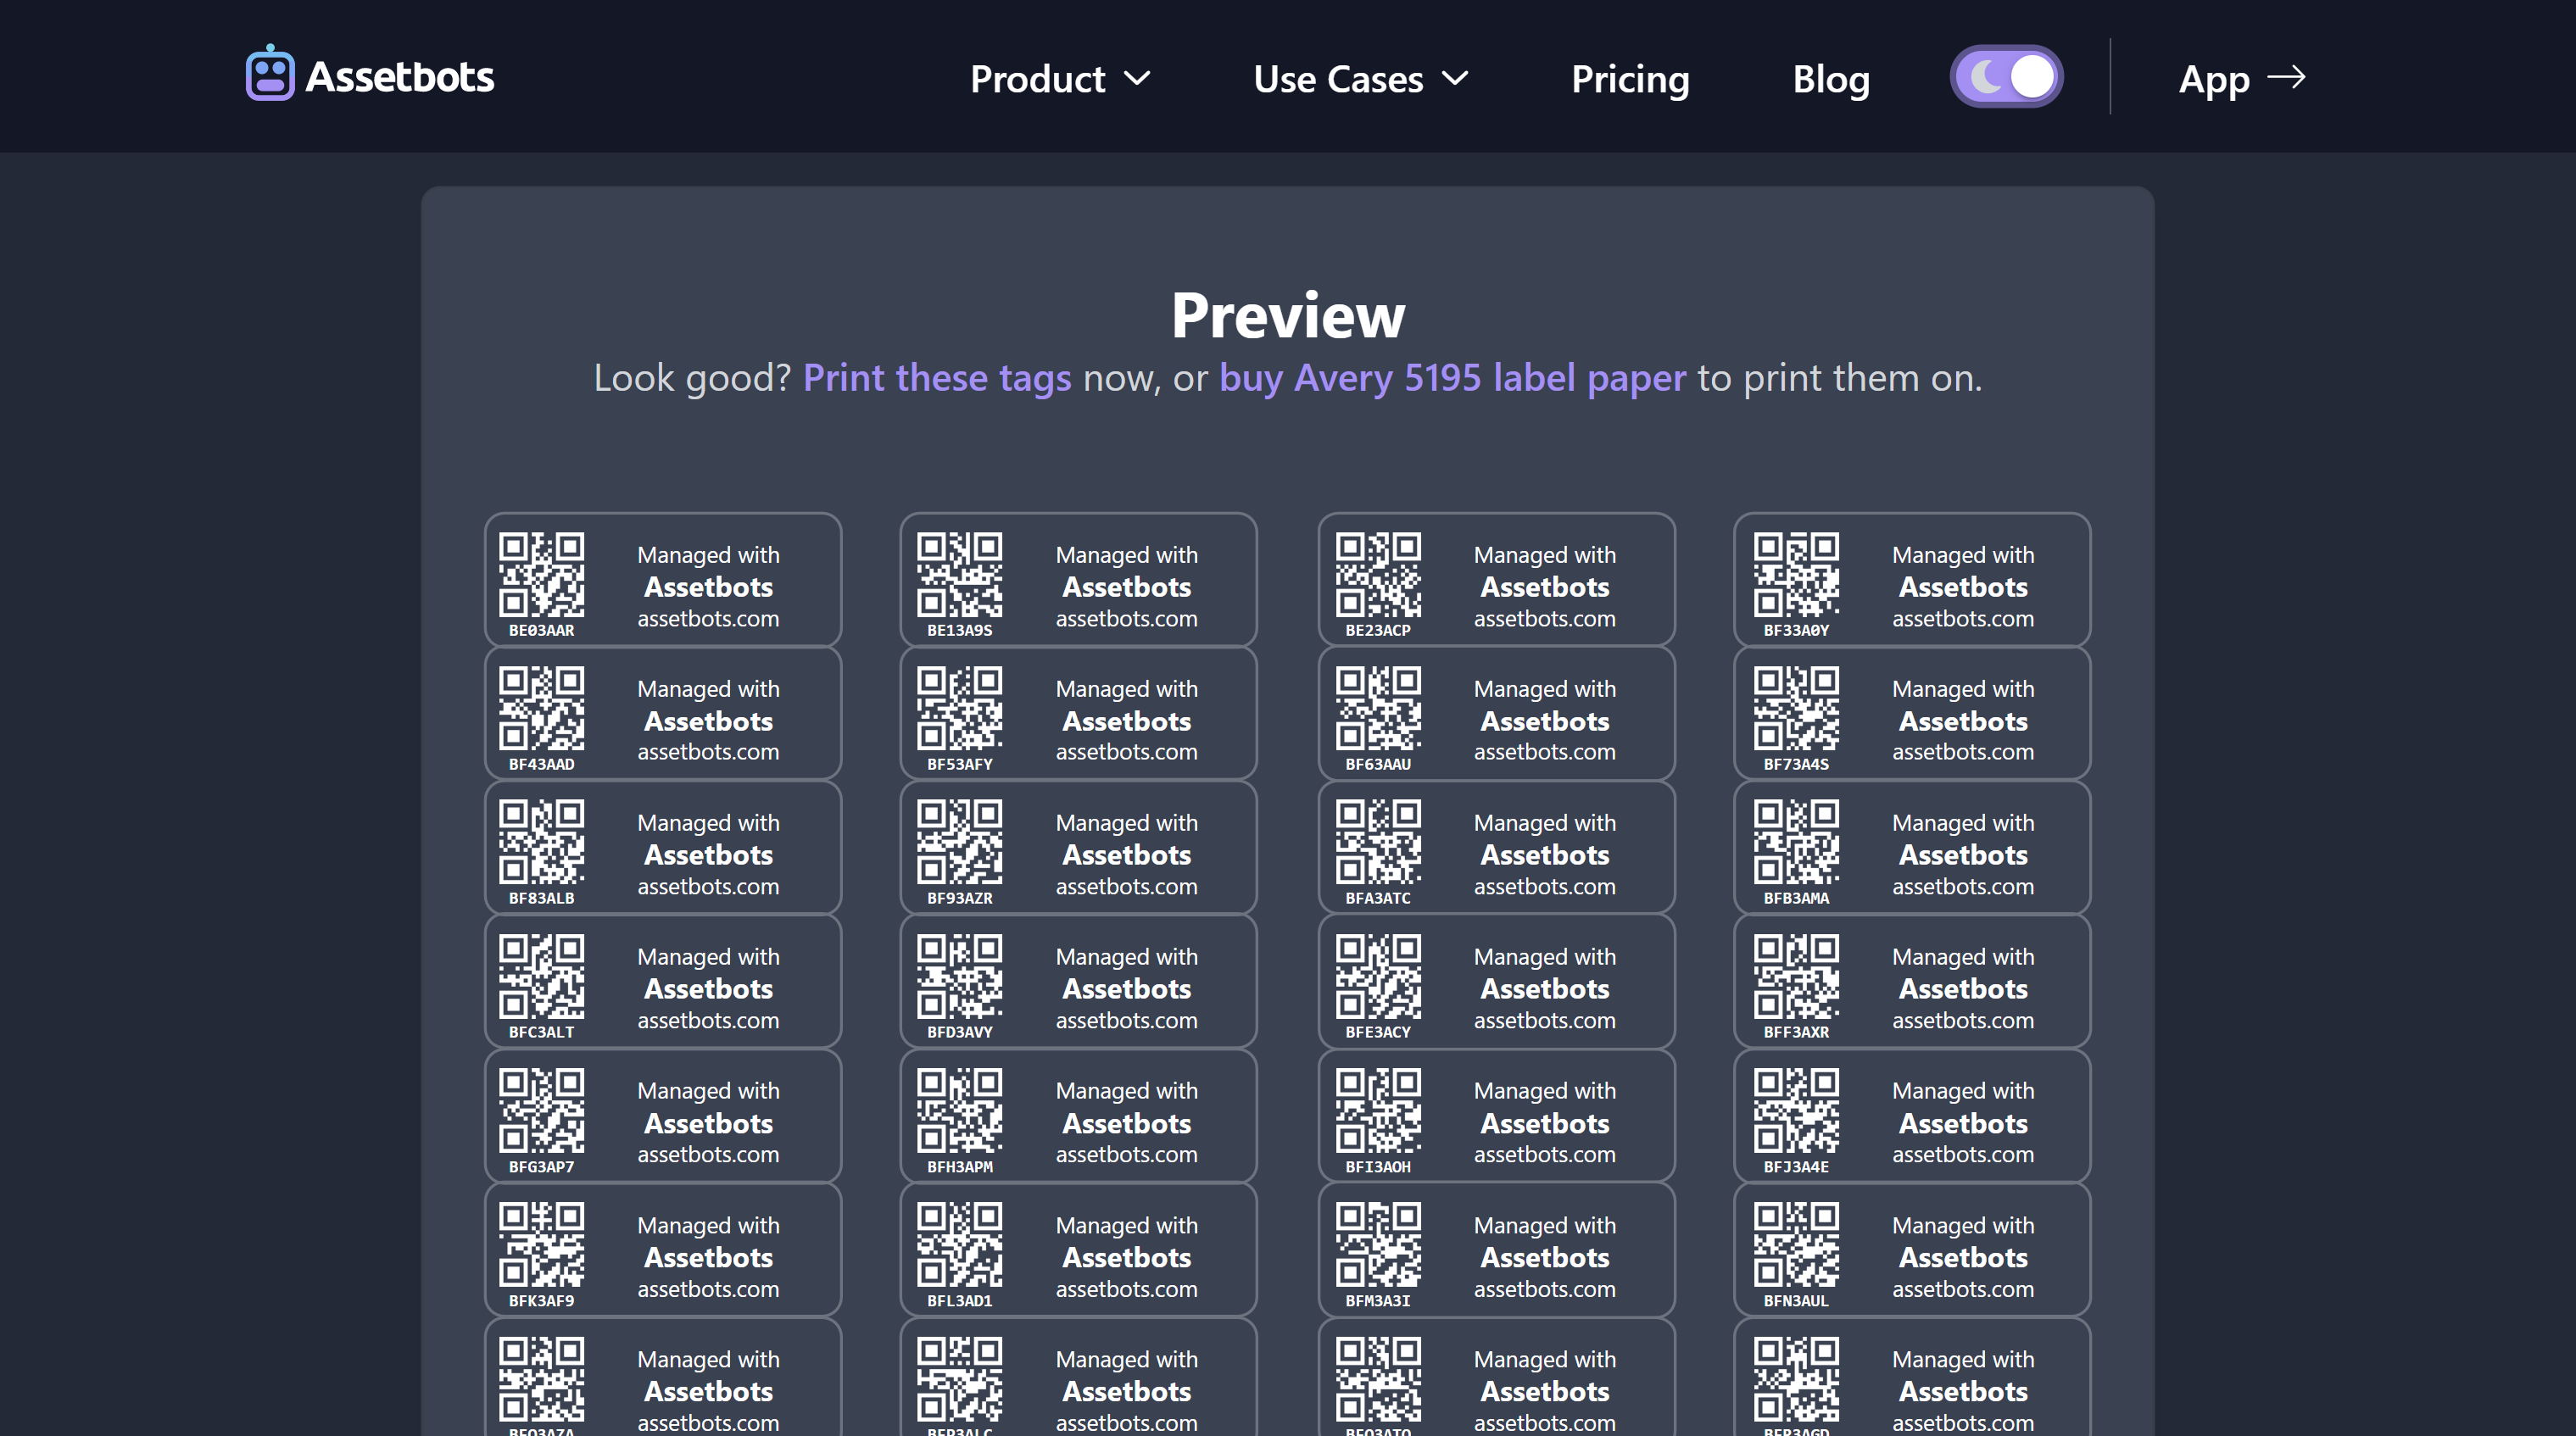
Visit https://www.assetbots.com/asset-tags to design your custom tags right away. You can choose how your tag IDs are generated and customize up to 3 lines of text for each tag. Our live preview shows you exactly what will be printed, and when you’re ready, you can print your tags onto Avery® 5195™ label paper.
In-App Designer with Additional Features
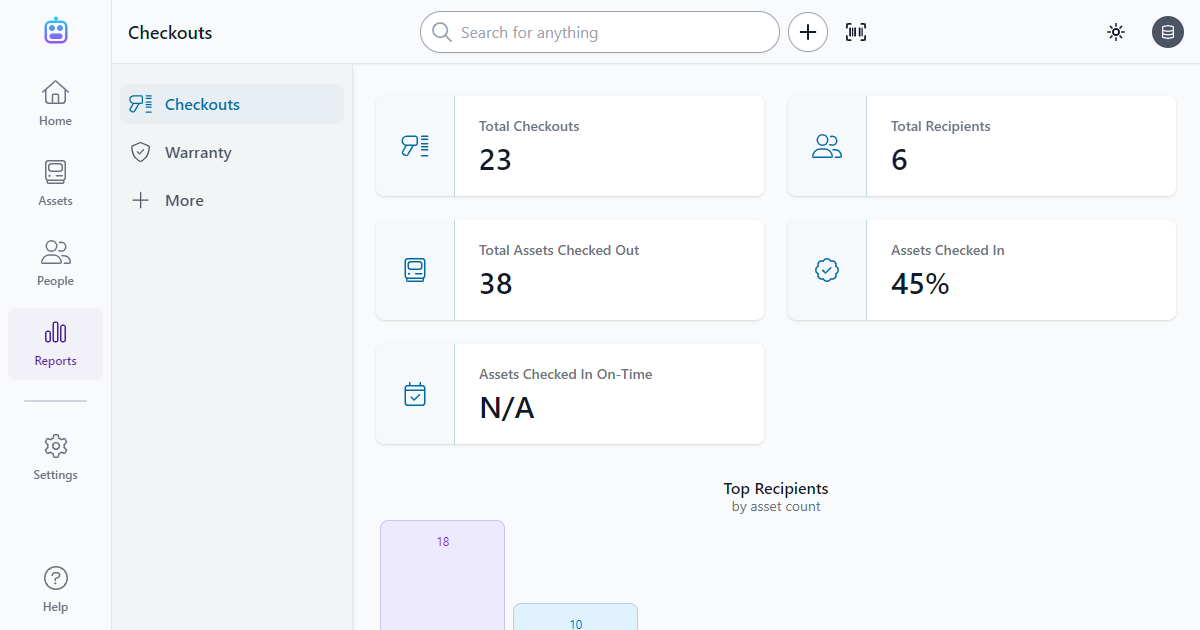
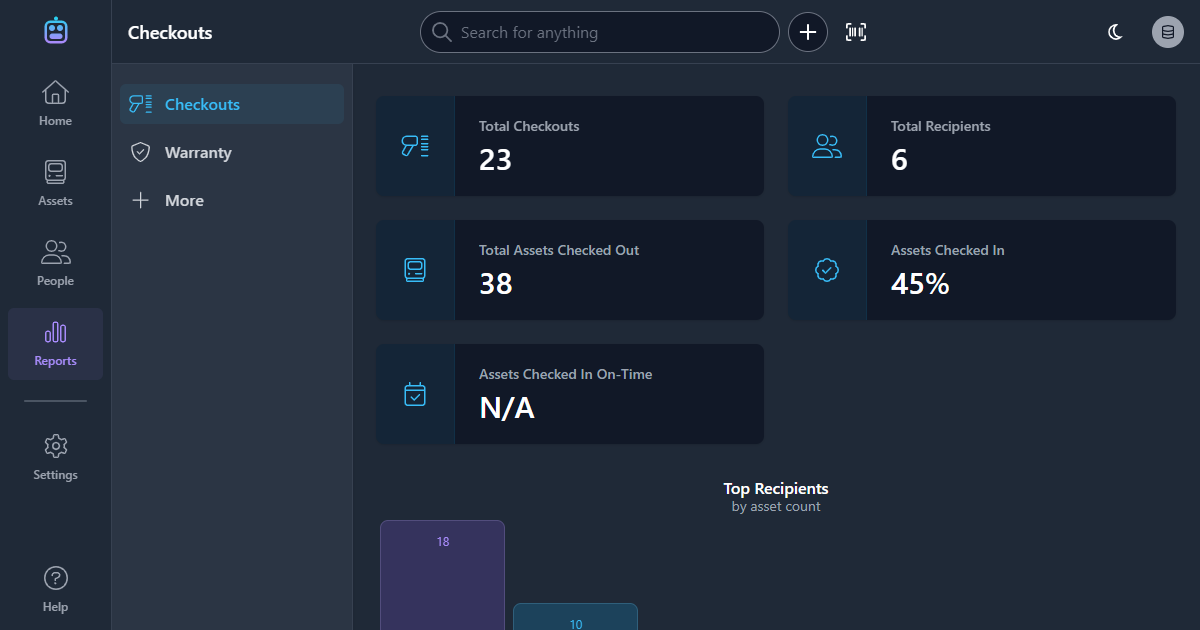
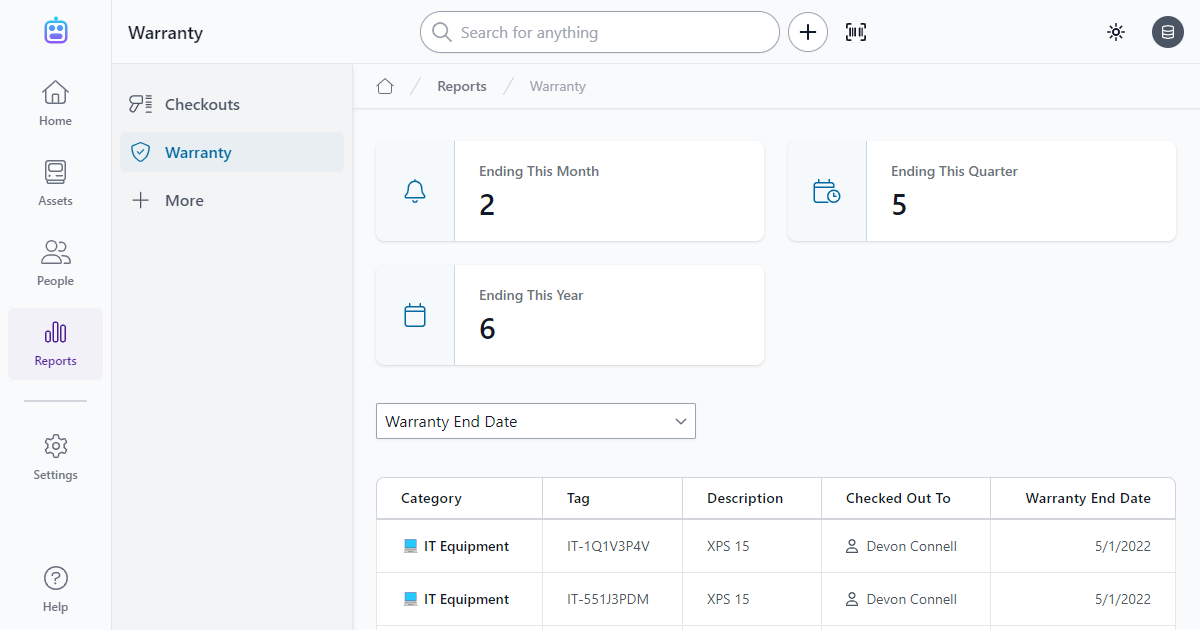
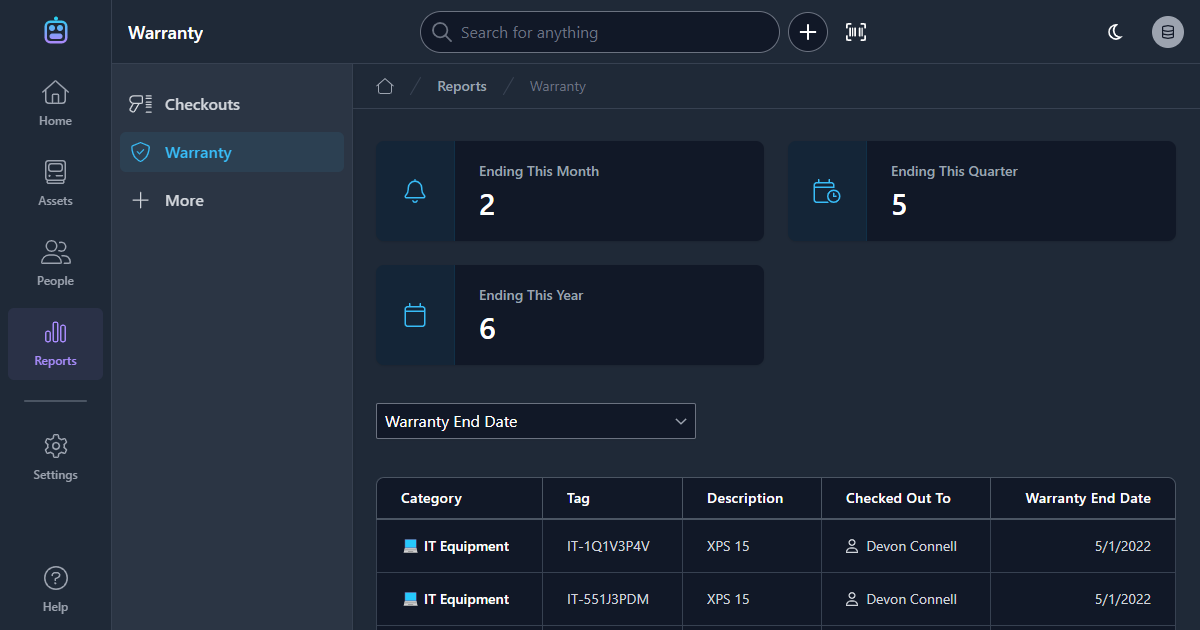
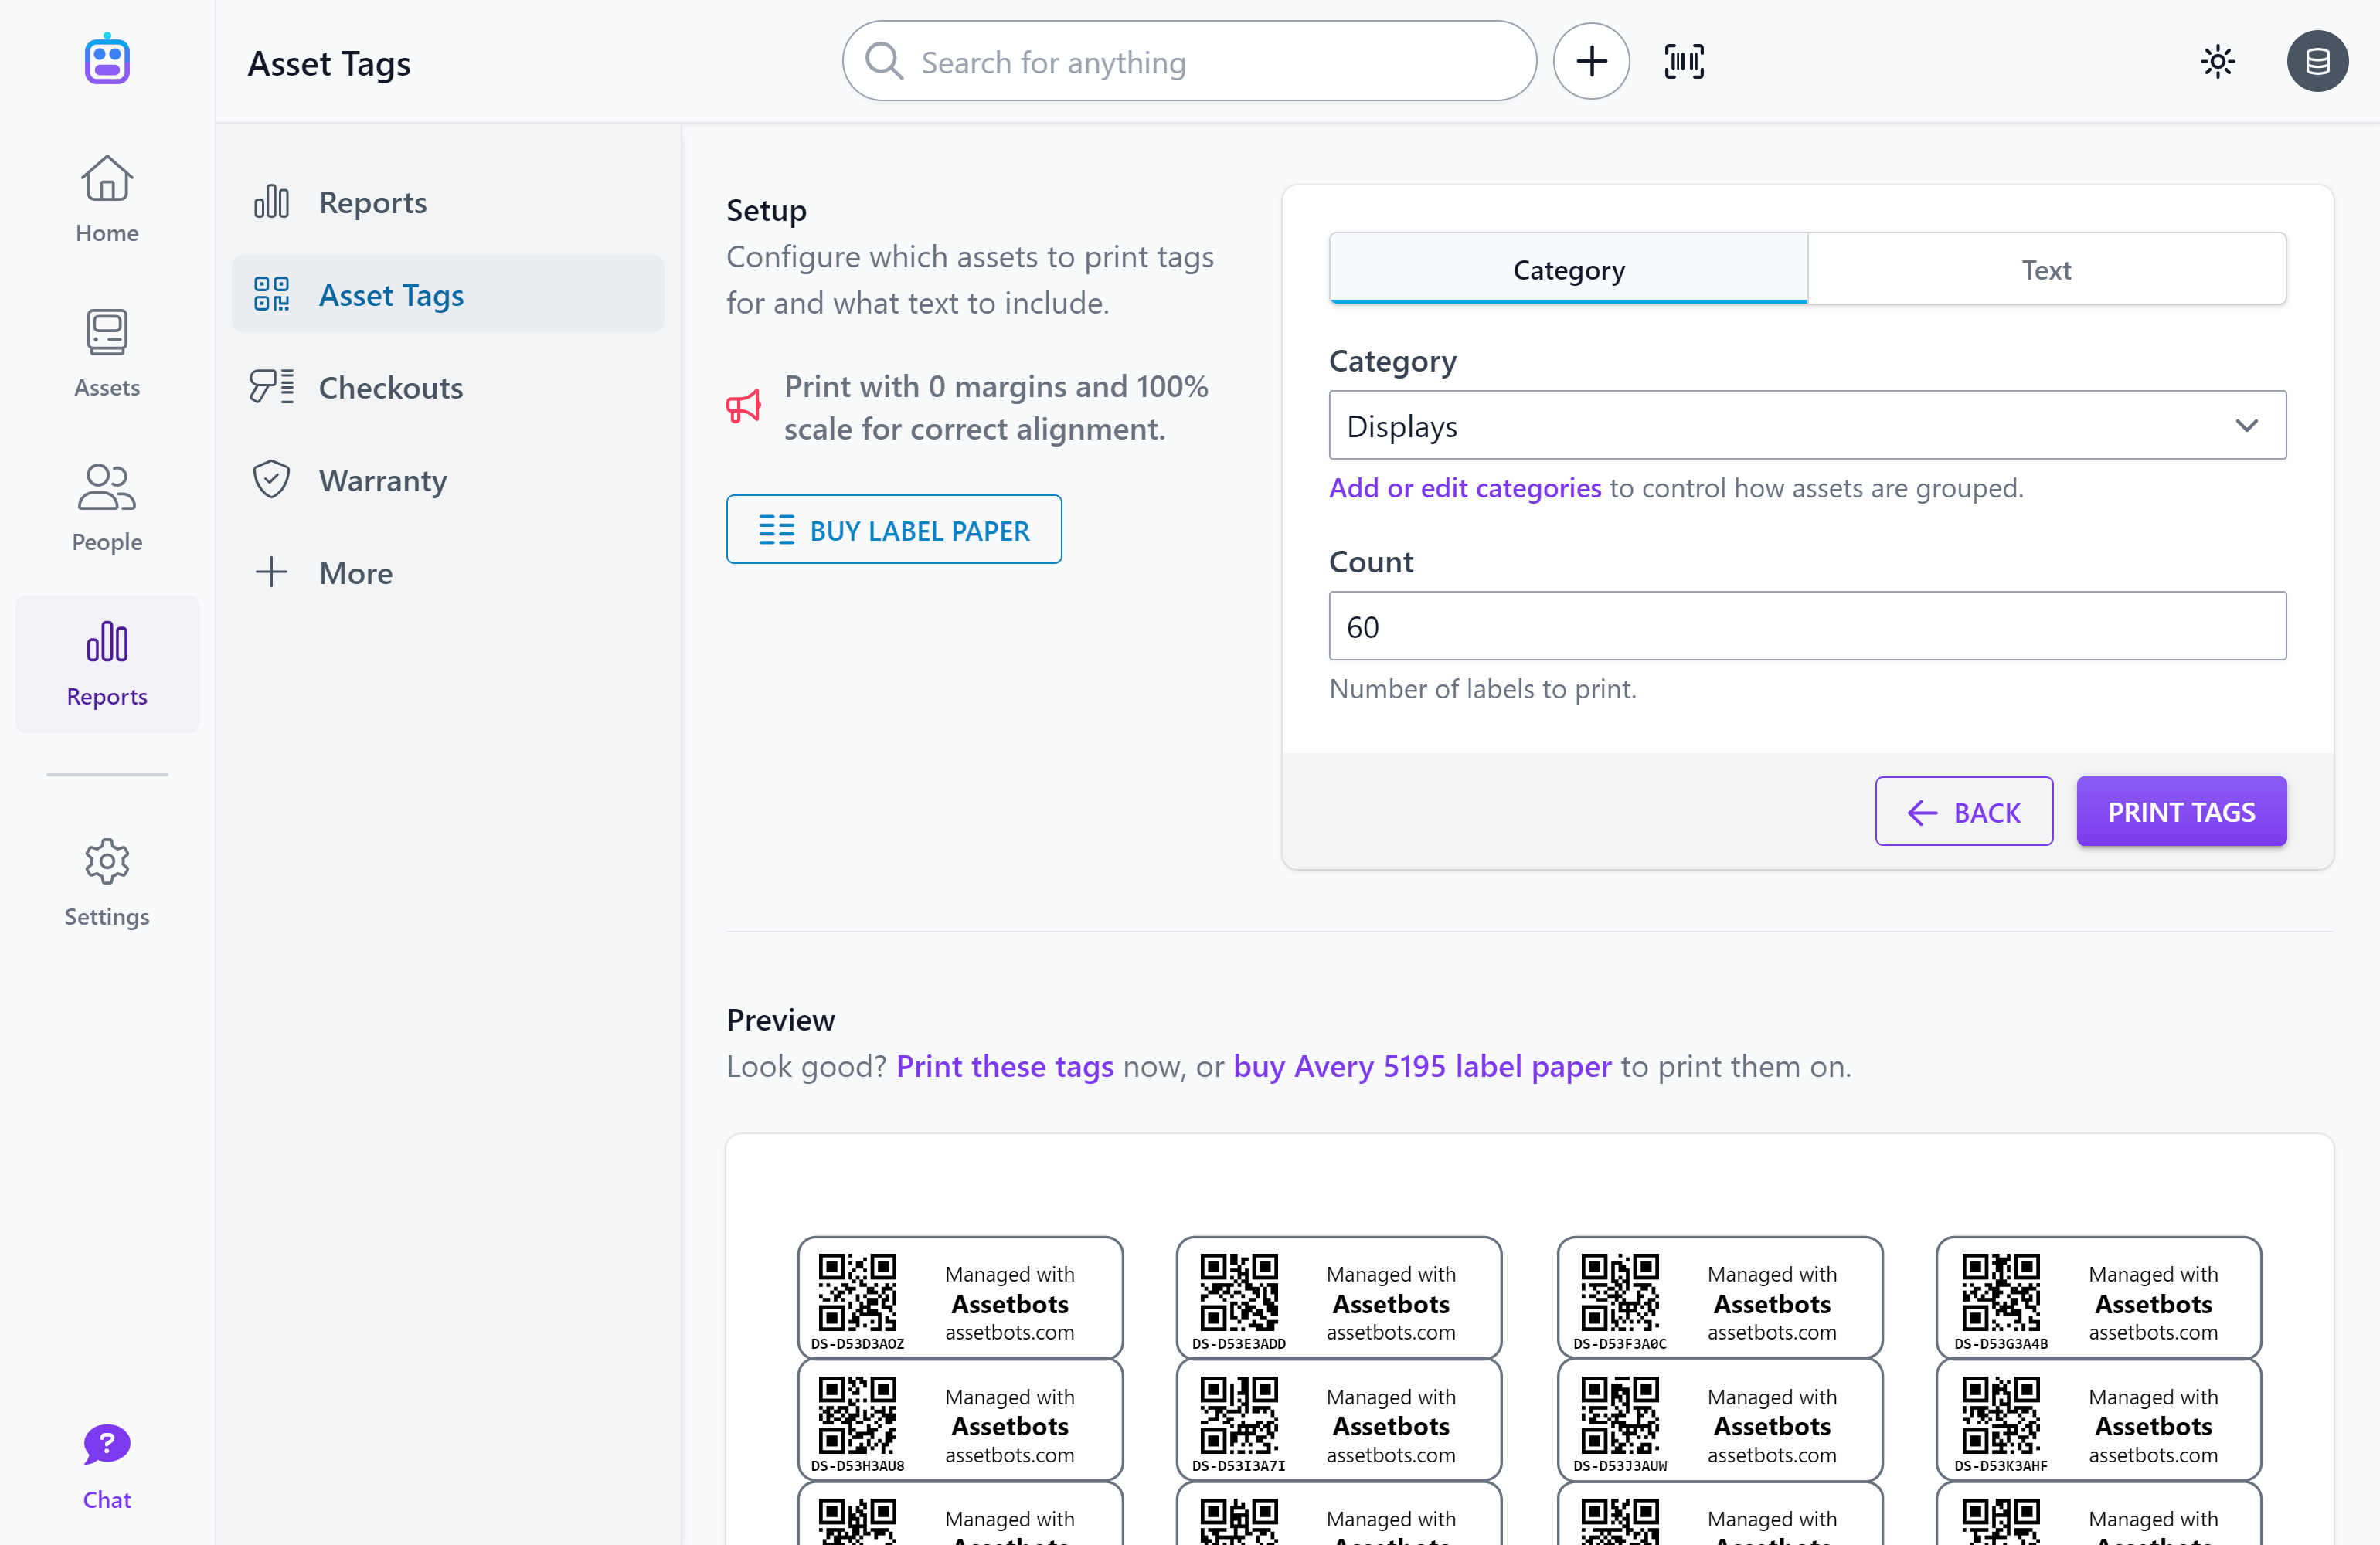
Our in-app designer can be accessed in the Reports area. The tool works similarly to our public designer, with a few extra bells and whistles:
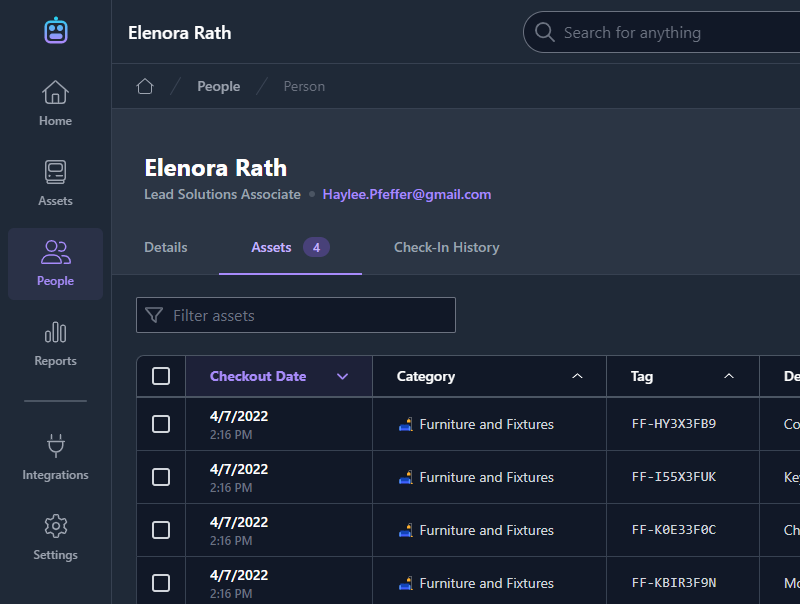
- You can select assets already in your database to print tags for
- You can choose an asset category and generate tags according to that category’s tag ID format rules
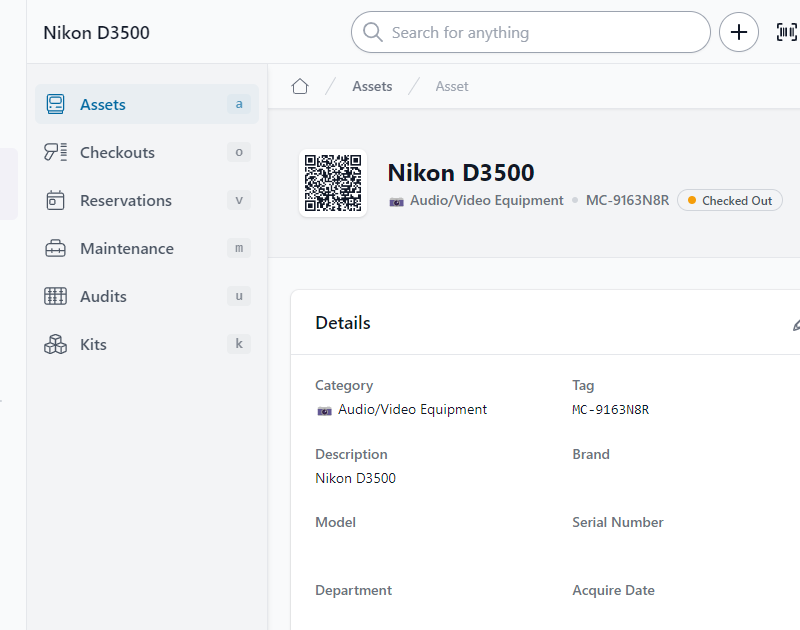
- You can generate QR codes that include links directly to your assets, enabling you to scan your tags with your phone or table’s default camera app

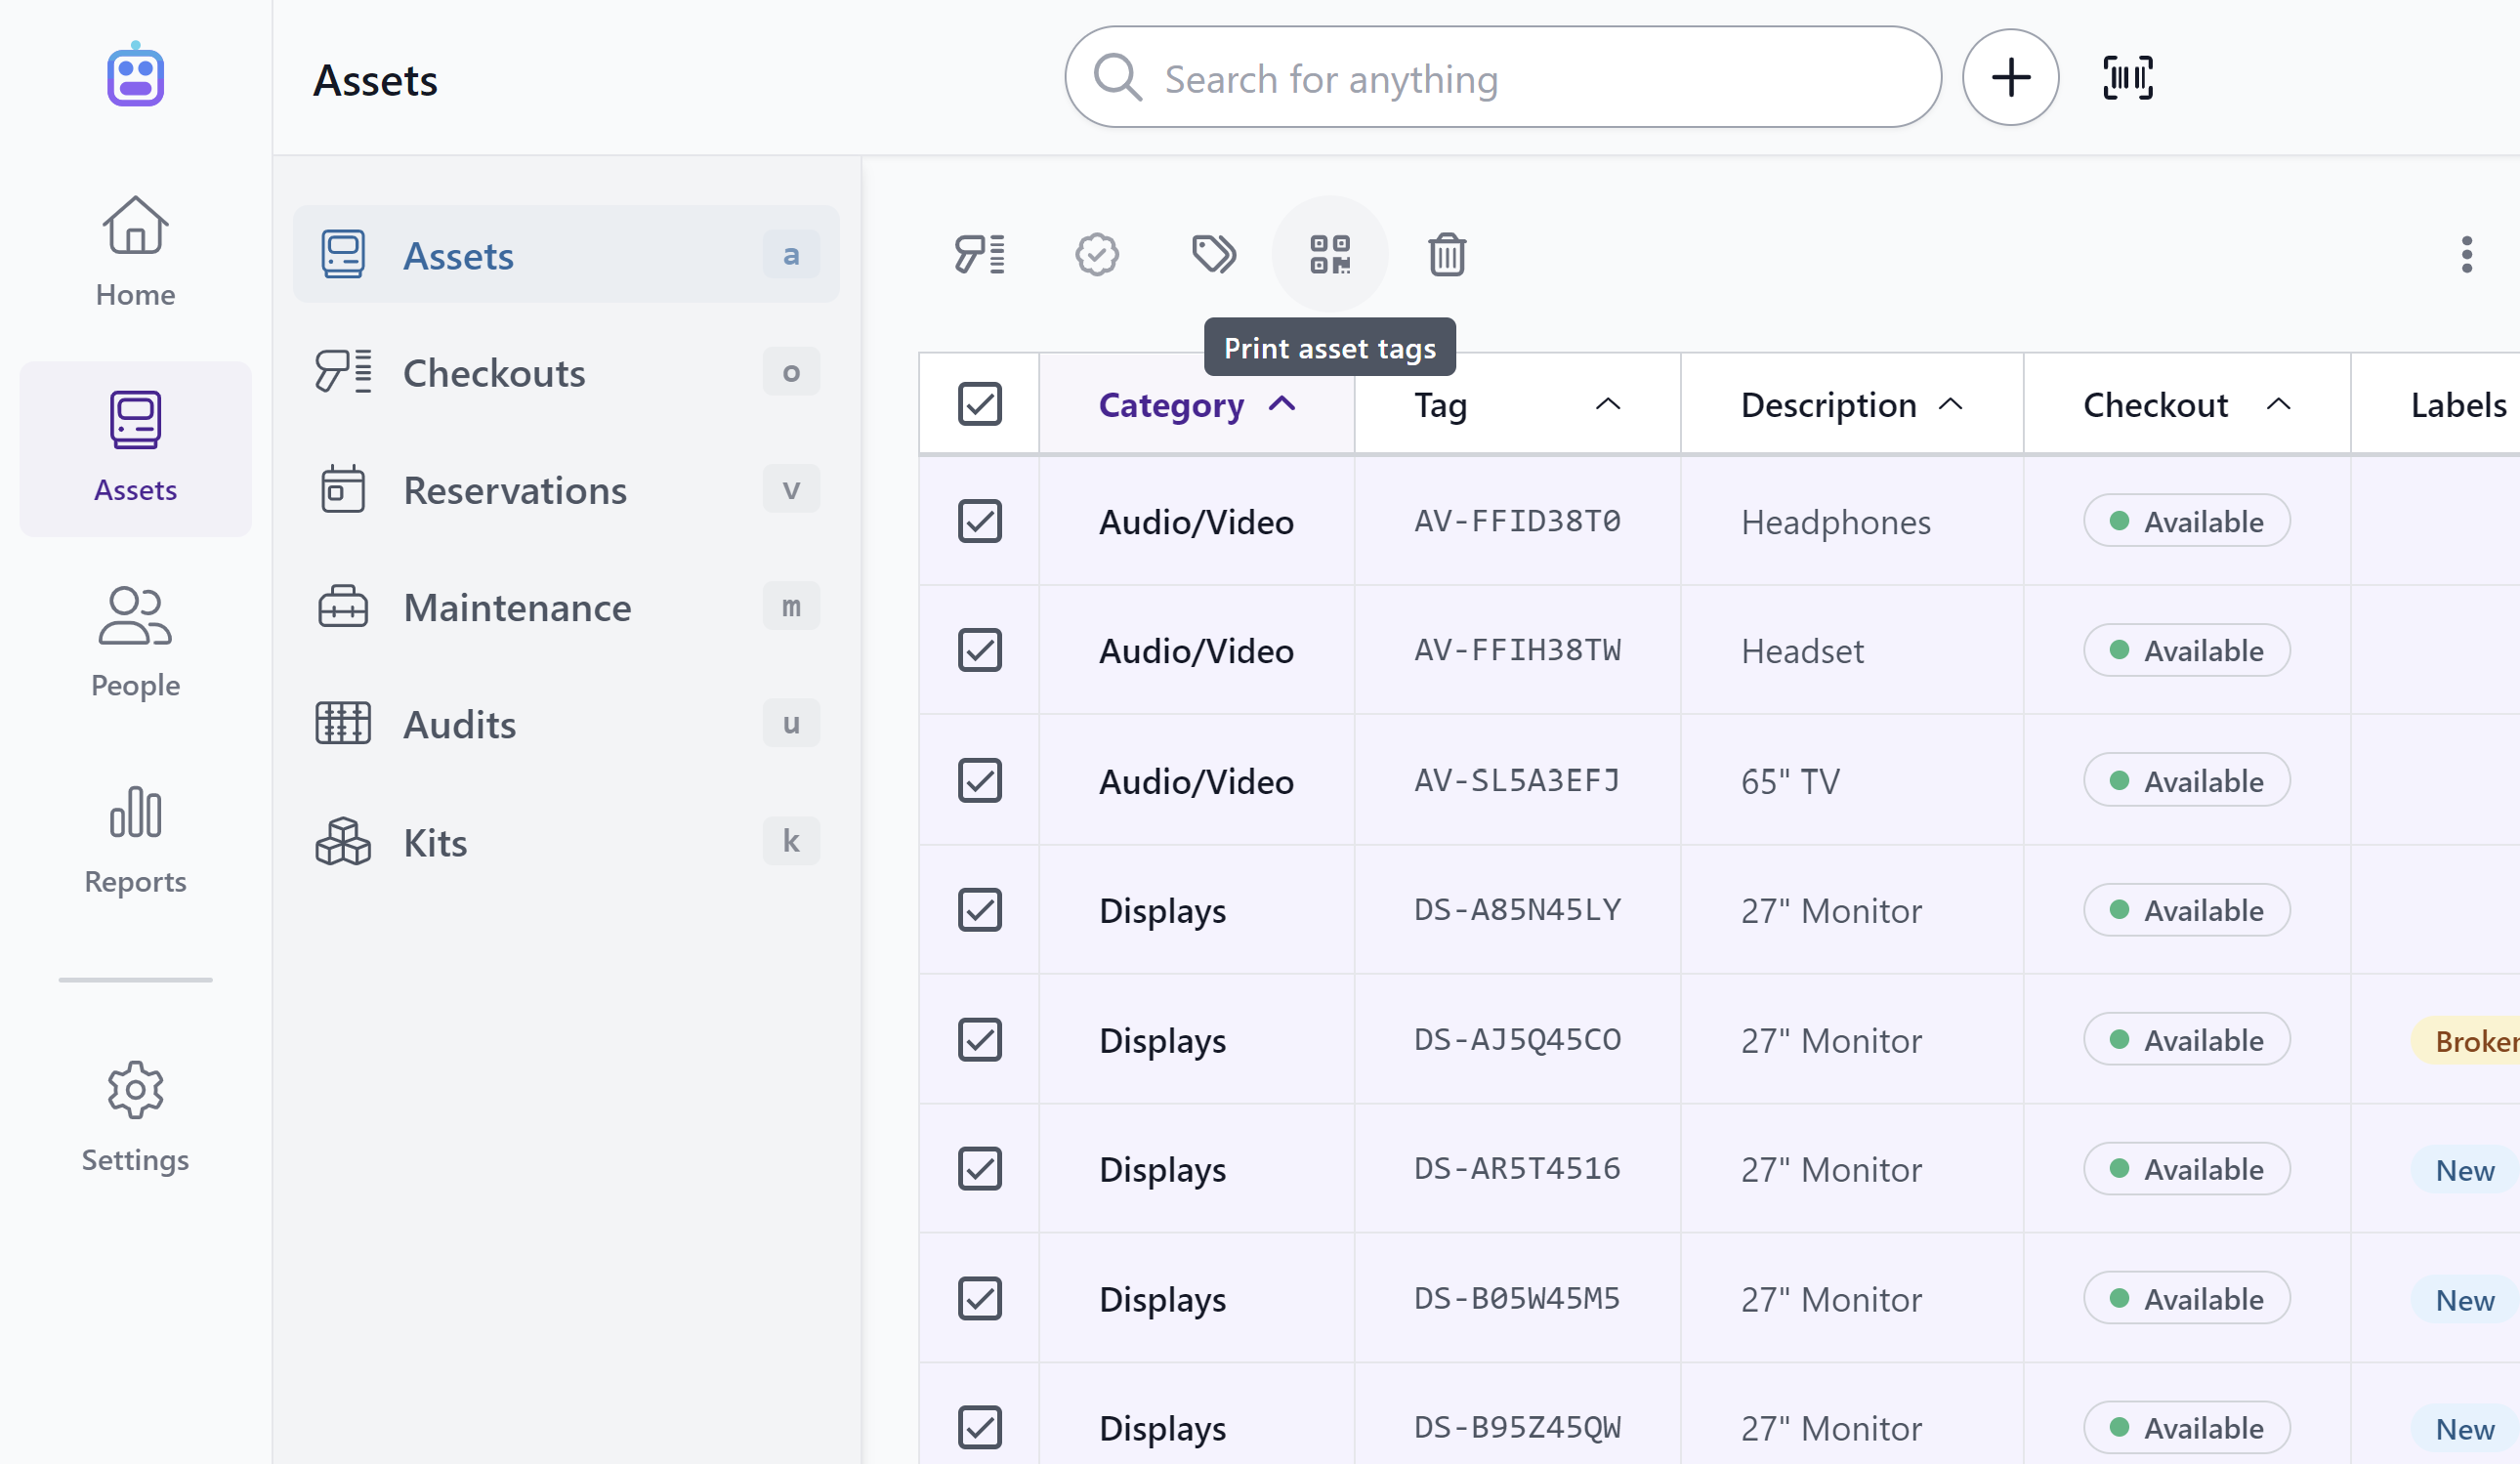
You may also select assets from the assets list and click Print asset tags in the selection toolbar to print tags for your existing assets.

We think our designer offers a fantastic mix of user friendliness and power. Please let us know if you have any questions or need help getting started.
Happy tracking!