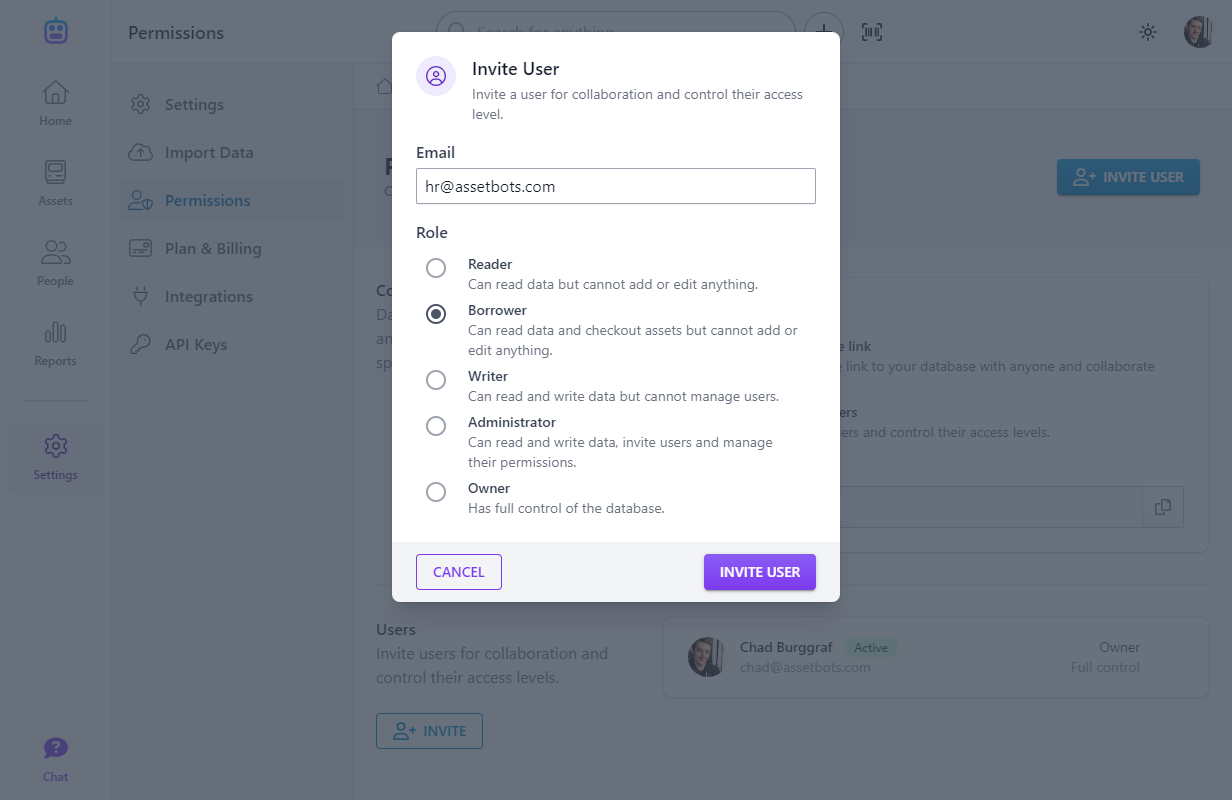
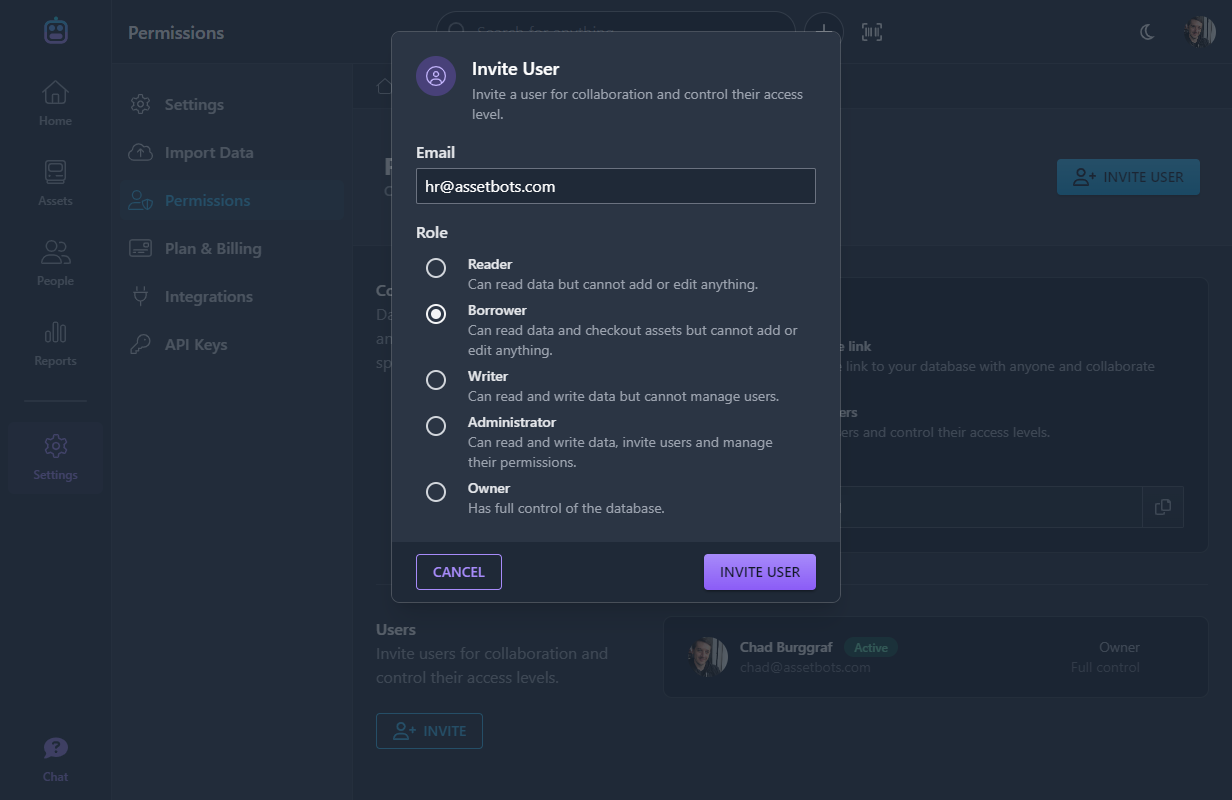
This is especially handy for new hires, where you may want to check equipment out to them before they arrive and have an email requesting signature waiting in their inbox.
You now have the option to collect the recipient's signature during checkout. This works especially well when checking out assets on a phone or tablet - recipients can draw their signature right on the screen!
Signature collection is only available when checking out to a person - it will be disabled if you're checking out to a location alone.
Assetbots will remember your selection, so if you choose to collect a signature for a checkout, signature capture will be automatically selected for your next checkout.
We're excited to announce our top-requested feature of all time: automatically sync Active Directory users and groups into your Assetbots database as people and labels.
We're just getting started on all of the integrations we plan to launch this summer, so stay tuned. And if you would like to see Assetbots work with your favorite software, please let us know!
In the meantime, take a look at our setup guide and start syncing your Active Directory users and groups into Assetbots today!
Our asset tag designer is now live! We have two versions of this powerful tool available: one on our website and one in our app.
A Simple Asset Tag Designer for Everyone
Visit https://www.assetbots.com/asset-tags to design your custom tags right away. You can choose how your tag IDs are generated and customize up to 3 lines of text for each tag. Our live preview shows you exactly what will be printed, and when you’re ready, you can print your tags onto Avery 5195 label paper.
In-App Designer with Additional Features
Our in-app designer can be accessed in the Reports area. The tool works similarly to our public designer, with a few extra bells and whistles:
You can select assets already in your database to print tags for
You can choose an asset category and generate tags according to that category’s tag ID format rules
You can generate QR codes that include links directly to your assets, enabling you to scan your tags with your phone or table’s default camera app
You may also select assets from the assets list and click Print asset tags in the selection toolbar to print tags for your existing assets.
We think our designer offers a fantastic mix of user friendliness and power. Please let us know if you have any questions or need help getting started.
Happy tracking!
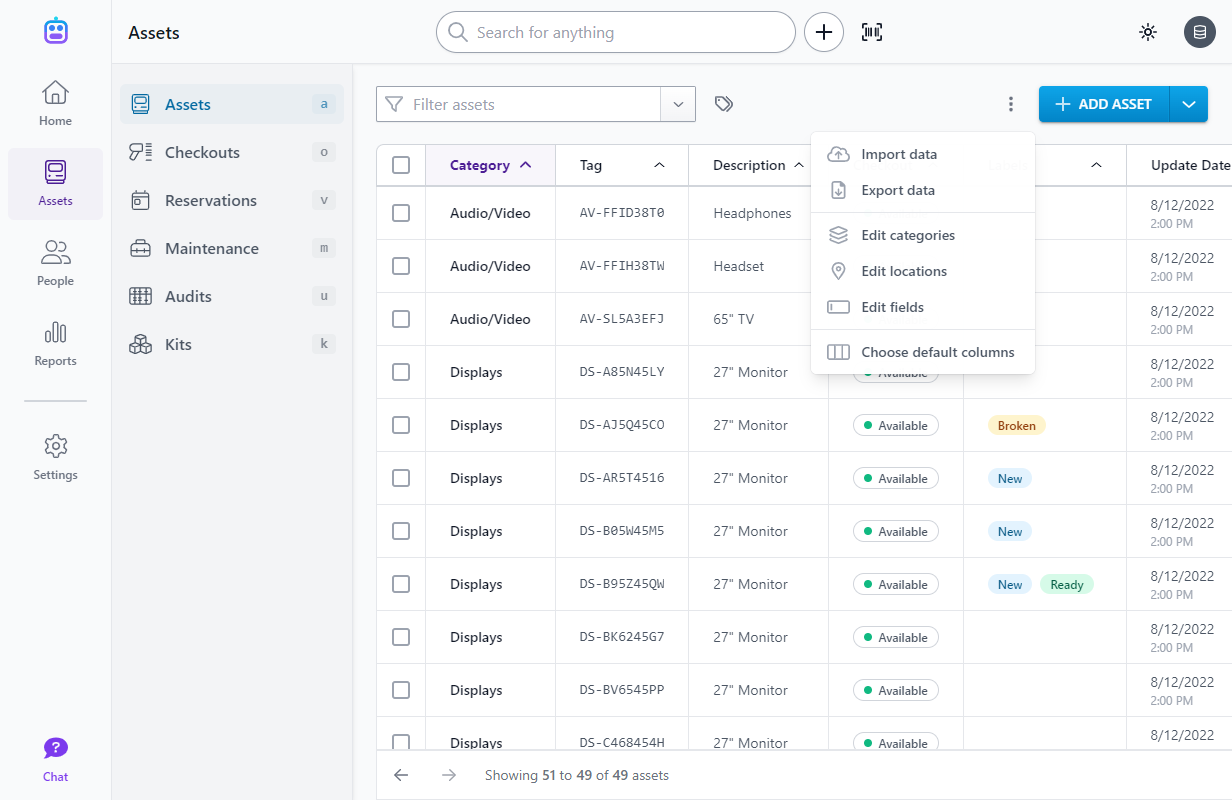
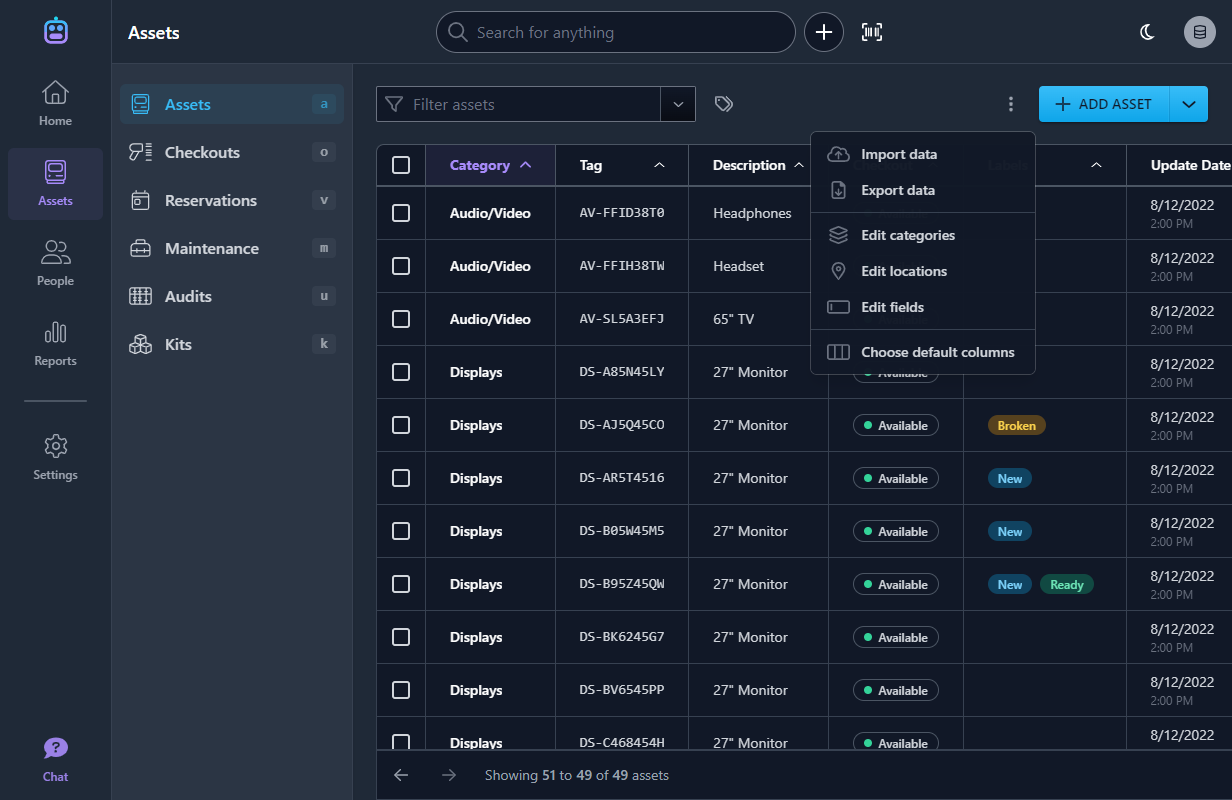
You can now import assets, people and checkouts to your database from an Excel or CSV file. Choose Import Data from the assets or people lists or navigate directly to the Import Data screen in Settings.
Our import tool will walk you through the process in three easy steps:
1. Upload File
Drag your Excel or CSV file onto the designated area or click Browse Files to browse for it on your computer.
2. Map Fields
Assetbots will read your file and try to match each column with a suitable Asset, Person or Checkout field. You can review the suggested mappings and modify them as needed. You may also create any new fields you might need right from this screen.
If you are importing asset assignments (i.e., checkouts), your file must have a column mapped to Checkout Date.
3. Review and Import
Finally, choose how Assetbots should handle duplicate records, review the estimated row counts, and click Import Data.
Your data will be available instantly, although synchronization to your other devices could take a few seconds depending on how many records were imported.
We’re very excited about the launch of this long-awaited feature, so please let us know if you have any questions or need any help. And, as always, happy tracking!
If you've ever wanted a quick and easy way to open your Assetbots database from your phone or tablet, we've got you covered!
We now display a QR code link to your database in the sidebar. You can use your phone's default camera app to scan the code and instantly open your database:
We also display a QR code on each asset's detail page which links directly to that asset:
If you're wondering: yes, this is part of a larger set of features we're working on that will allow you to design and print your own asset tags. We're really excited about how our tag designer is turning out, so stay tuned!
Sometimes small details make a big difference. You can now checkout assets to a person and a location - at the same time.
We've heard from customers that they often want to track where their equipment is at the same time as they track who has it. While it was previously possible to, for example, add a custom Location field and then manually update it when necessary, this tends to be cumbersome and error prone.
With this update, checkouts more closely resemble what they're meant to: a chain-of-custody history of your assets' movement over time. And that movement can consist of assignments to various people, transfers to various locations, or both!
You can now create dynamic links to your assets and people.
What does that mean?
You can now link directly to your asset and people records using a value in one of their fields. A common example would be to use the value of an asset's tag field. For example, if your Assetbots database URL was https://app.assetbots.com/db_cl2qmwlr300024e306wafquly (this value can be found in Settings / Permissions), you could link directly to an asset with a tag value of IT-00042 using the following URL:
Our internal scanner has a super-power: it lets you rapidly scan multiple assets at once to add them to a check-in or checkout. You can also use it in a more basic fashion to search for assets by scanning. Until now, to use our internal scanner you needed to encode all of your tags (either as barcodes or QR codes) with only their tag ID value (or other identifying value like serial number).
This means that your default phone camera, when not logged into Assetbots, was unable to navigate to an Assetbots asset by scanning an asset tag. Well now it can!
Our internal scanner can now handle URLs like the one above, so feel free to encode full URLs into your QR code tags.
Your default phone camera can now link directly to an Assetbots asset, just like when you scan a menu code at a restaraunt.
We've made a number of improvements to make your life easier when adding assets.
Show All Fields
You can now expand the New Asset and Duplicate Asset dialogs to show all of your fields. The fields are dynamic, so they will update as you change categories to reflect the fields enabled for each category.
Batching
When you add multiple assets, either via Save and add another or using the Create Bulk Assets dialog, they will be identified by the system as a batch. Even better, the asset list will be filtered to only show those assets in the latest batch, letting you easily work your way through your newly-added assets.
Next / Previous
Finally, we've added Next and Previous links to asset and person detail views. In the spirit of software working like you expect, these respect the current filter applied to the list view. When combined with batching, this means you can quickly navigate through your newly-created batch!